Building a full home server – easy and effectively running 10+ services with Docker and Docker-compose
To host services on your own server you need a simple way of running them. A great combination here is Docker and docker-compose for running your services. After some initial setup this combination is very simple to use, easy to extend and really powerful. This is how I run my server.
Hosting services on your own server at home
In this series I already described how I built my server, how I handle the filesystem needs with ZFS, how I do backups and how I share data in my local network via shares. Storage is not the only thing I use the server for though: I also use it to host instances of a couple of free services like Nextcloud, Teamspeak, OpenHab and some more.
To host these services I was looking for simple solutions for some problems. How to easily set up the services I need and all their dependencies while being able to simply back up the data? And how do I make them available in my network? How do I quickly add new services later on?
The answer to these questions is definitely Docker and docker-compose for me.
Running services the simple way
Usually if you run a more complex service you either need to get the right executable or compile something from source code. Then you need to install some dependencies and related services like a database. Finally you run it (often as a web server). You also need to make sure the service starts up automatically and gets updated regularly. This is a lot of work!
It gets even worse if you run different services at the same time that require different versions of the same dependency or otherwise interfere. This used to often be solved by using virtual machine but now there is an even easier solution than VMs: containers. I will not discuss the technical differences here but basically they are very lightweight VMs all using the host to actually run the software but in separated environments.
Docker is the most popular container implementation right now and comes with some great perks. Mainly pretty much every service is now available as a ready to use docker image. Places like Docker hub and LinuxServer offer many many different images. Using them is simple as they already include most of their dependencies. You usually only need to set environment variables and maybe provide external dependencies like databases. These can also just be other Docker containers.
Once set up you can just keep using the service, easily update it by just pulling a newer image and even run multiple instances of the same service. Backing up the data is also easy as you can map certain parts of the container that hold the data to your servers storage and then have all the important data there ready to backed up.
To make this even easier you can user docker-compose to define a set of services that belong together in one simple yaml file. Then you just run one command to start all those services and even define how the network that connects them should look like.

Setting up docker-compose
The installation step is of course again automated via ansible. The code can be found in my GitHub repository. There is one task that will install and setup Docker and a bit more for you.
---
- name: Setup docker .env file
  template:
    src: templates/dockerEnv.env
    dest: "../.env"

- name: Install the needed docker packages
  apt:
    name:
    - docker
    - docker-compose
    state: latest
    cache_valid_time: 3600

- name: Ensure docker group exists
  group:
    name: docker
    state: present

- name: Add user {{adminuser}} to docker group
  user:
    name: "{{adminuser}}"
    groups: docker
    append: yes

- name: Create folder for docker data
  file:
    path: "{{docker.data_dir}}"
    state: directory

- name: Create folder for traefik data
  file:
    path: "{{docker.data_dir}}/traefik/acme"
    state: directory

- name: Create acme config file for traefik
  file:
    path: "{{docker.data_dir}}/traefik/acme/acme.json"
    state: touch
    mode: '0600'

- name: Copy treafik config file
  template:
    src: templates/traefik.toml
    dest: "{{docker.data_dir}}/traefik/traefik.toml"

- name: Create the external docker network {{docker.external_network}}
  docker_network:
    name: "{{docker.external_network}}"
Before you actually run this make sure to update the ansible/templates/dockerEnv.env file. Most of these values are automatically filled with data from the main_vars.yaml file used to set up ansible but some passwords should be changed here manually. This env file is later available for all Docker containers and contains some important data like passwords used in the services. Feel free to add more data here if needed.
This task will first copy this env file to the source of the git repository and then install the needed packages for Docker and compose. Be careful if you run this on something else than a x64 machine. On the Raspberry Pi for example some more work is needed to install Docker and compose. More on that in my smart home server post.
Afterwards it will add the user you defined as admin to the docker group. This makes it possible for that user to user the docker ... commands without having to use sudo. Then it will create a new folder to hold all the data of your new Docker containers and some subfolders for Traefik (more on that in my reverse-proxy guide).
This new folder (by default /dataPool/docker/data) will be the only place you need to back up afterwards. The actual program data can always be downloaded again at any time in the form of Docker images. This saves you a lot of space in backups compared to backing up a full VM for example.
Finally the task will create a new Docker network that your containers will later use to communicate with the outside.
Running a service with Docker-compose
Once this is all set up it is pretty easy to add a new service. You create a new yaml file describing the service and all its parts, including external access. You can also set it up in a way to store data in the shared docker folder that we created above. Now you can just run it using the docker-compose -f theNewFile.yml up -d which will start all containers described in the new yaml file and keep them running (the -d parameter). Afterwards you only need to provide or update configuration files for the service (in some cases) and then you can start to use them.
Here is an example of an OpenHab setup that I have been running for some time.
version: "3.3"

networks:
  openhab_network:
    driver: bridge

services:
  openhab:
    image: "openhab/openhab:2.5.5"
    ports:
      - 80:8080
      - 8443:8443
      - 9001:9001
    volumes:
      - "/etc/localtime:/etc/localtime:ro"
      - "/etc/timezone:/etc/timezone:ro"
      - "${DATADIR}/openhab/addons:/openhab/addons"
      - "${DATADIR}/openhab/conf:/openhab/conf"
      - "${DATADIR}/openhab/userdata:/openhab/userdata"
    labels:
      - "com.centurylinklabs.watchtower.enable=false"
    environment:
      OPENHAB_HTTP_PORT: "8080"
      OPENHAB_HTTPS_PORT: "8443"
      EXTRA_JAVA_OPTS: "-Duser.timezone=${TZ}"
    restart: unless-stopped
    networks:
      - openhab_network

  mosquitto:
    image: "eclipse-mosquitto:1.6"
    restart: unless-stopped
    networks:
      - openhab_network
    volumes:
      - "${DATADIR}/mosquitto/config:/mosquitto/config"
      - "${DATADIR}/mosquitto/data:/mosquitto/data"
      - "${DATADIR}/mosquitto/log:/mosquitto/log"
    ports:
      - 1883:1883

  grafana:
    image: "grafana/grafana:latest"
    restart: unless-stopped
    user: "${PUID}"
    networks:
      - openhab_network
    volumes:
      - "${DATADIR}/grafana/data:/var/lib/grafana"
    ports:
      - 3000:3000

  influxdb:
    image: "influxdb:1.8"
    restart: unless-stopped
    networks:
      - openhab_network
    volumes:
      - "${DATADIR}/influxdb/data:/var/lib/influxdb"

  tasmoadmin:
    image: "raymondmm/tasmoadmin"
    restart: unless-stopped
    networks:
      - openhab_network
    volumes:
      - "${DATADIR}/tasmoadmin:/data"
    ports:
      - 3080:80

  zigbee2mqtt:
    image: koenkk/zigbee2mqtt
    restart: unless-stopped
    volumes:
      - ${DATADIR}/zigbee2mqtt/data:/app/data
      - /run/udev:/run/udev:ro
    devices:
      - /dev/ttyACM0:/dev/ttyACM0
    networks:
      - openhab_network
    environment:
      - TZ=${TZ}

  zigbee2mqttAssistant:
    image: carldebilly/zigbee2mqttassistant
    restart: unless-stopped
    environment:
      - Z2MA_SETTINGS__MQTTSERVER="mosquitto"
      - TZ=${TZ}
    networks:
      - openhab_network
    ports:
      - 8880:80
First we define the version of docker compose syntax that should used here and set up a network for internal communication between these containers and to the host. Afterwards comes the interesting part: a list of docker containers that are needed for this service. They always start with a name (like openhab) and are follow by a description. The most important part is the image that this container uses. Many can be found on Docker Hub. It is an exact description of the state of a software system. This includes the actual software we want to run and all its dependencies.
The image name also often includes a version number like 2.5.5 for OpenHab. This points to a certain version of the image and makes upgrades very simple. Looking to upgrade to a version 3 of OpenHab? Just change the number to 3.x.x and restart the container. I described this upgrade process in depth here for Home Assistant.
Then we define a couple of other attributes. The restart: unless-stopped policy tells Docker to always start this container again if it crashes or after a restart of the host unless we manually stop it. We also always add it to the network defined above (so that the different containers can find each other).
Then there a couple of more specific attributes for some services. Using the environment: we can set environment variables inside the container that can change the services behavior. In some cases like - TZ=${TZ} I used variables defined in the .env file that Ansible created. You can always update the existing data there or add new entries on your own. If you run the docker-compose command from the same folder it will automatically know about the variables in this file.
I also use the volumes: attribute to safely store data in the containers. By default container data is only available as long as it is running and will be lost afterwards. Certain data like the content of a database or configuration files need to be persisted though. This can be done using the volumes command with - /path/on/the/host:/path/in/the/container mappings. I always use the ${DATADIR} variable here which points to the shared docker folder we created earlier. Then I usually create one folder there per service and if needed subfolder for data/configuration/… . This step is very important to not lose data! It is also important to always use the shared folder to make sure that the data is included in backups.
If you want to give a container access to some data but want to avoid changing that data in any way these volumes can also be mounted read only. Simply add a :ro after your path. - /path/on/the/host:ro:/path/in/the/container will make the data available to the container but without write access.
It is also possible to set the user/group that is used inside the container to read or write data. For those paths we are synchronizing via volumes command we should make sure that the users match. If the data is owned by root on the host a non root user inside of the container will have difficulties accessing the data (by default root is used most of the time). This can be fixed by using user: "${PUID}" to set the user that is used inside the container to the value of the PUID variable. The proper value for your current user can be determined by running the id command and using the uid.
Finally you will need to expose some of the services to the outside. By default these containers can only talk to each other on their own network. This is pretty easy using the container name as a DNS name. OpenHab can reach influxDB via influxdb:8086 (name and default port). This works well for service that are only needed inside the network like the database. Some services, like OpenHab, should also be available from the host and from the local network though.
Ports of service can be made available to the outside by using port mapping. Adding a mapping like externalPort:internalPort is trivial. For example Grafana runs on port 3000. You can make it available in the local network by adding 3000:3000 as a mapping. Now any other computer in the network can go to ipOfTheServer:3000 to open the web interface of Grafana (unless there are other firewalls).
The awesome thing about the port mapping is that you can also remap ports to something else. Lets say you are running multiple services on one host that all provide a web client. Usually it is always expected that a web clients used port 80 or 433. Ports can only be used by one service though.
So how do you reach the others? By simply remapping their internal port 80 to something else on the host, for example port 8080. This can be done with a simple - 80:8080. Now this service can be reached via ipOfTheServer:8080 but to the service itself the incoming data still reaches it via port 80. Very handy if there is no simple way of changing this.
For the OpenHab service I also added a label. In this case the label controls the behavior of a watchtower container that is also running. Watchtower is regularly checking for available updates for my running services and applying them automatically. For critical services like OpenHab I stopped this via the label. You can find more details on this in my Watchtower tutorial.
In the GitHub repository I have added two example yaml files. In core you will find some of the internal services I need to keep my setup running, like heimdall for dashboards and watchtower for automatic updates. In the OpenHab yaml file I have added a couple of containers that I have been running for an OpenHab installation for some time. There is also a task for ansible that is doing some setup work for that OpenHab container, just so you have an example for that too. The task is currently not executed by the playbook, you need to add it to the task list if you want to change that.
How to add new services
If you want to add another service to your existing setup you simply add it to a yaml file. Either, if it belongs to some other services or domain you already have, you add it to an existing yaml file or you just create a new one. As a template you can use the yaml file above and add a new service like this (careful with the indentation!):
serviceName:
    image: "imageName/withVersion:2.5.5"
    ports:
      - 80:8080
    volumes:
      - "${DATADIR}/newService/data:/internal/path/to/data"
    environment:
      SOME_ENVIRONMENT_VARIABLE: "someValue"
    restart: unless-stopped
    networks:
      - this_services_network
Just replace these values with your actual service information. Usually the Docker hub images have proper descriptions for what data you need to provide and sometimes even examples. After your changes are done just run the up command again, pointing to the new or updated yaml file like docker-compose -f theNewFile.yml up -d. The first time you start a new service it will take a while as it has to download the new image. Afterwards the start is usually really fast though.
If you ever need to look at the logs that your services are producing you can use the docker-compose logs command or use Loki and Grafana to view them in a nice dashboard. More on that in my tutorial.
Getting an overview of your running services
At some point you might be running quite a lot of services via containers. It is still pretty easy to get an overview though. For each yaml file you can use the docker-compose -f theNewFile.yml ps command to get a nice list of services and their status. For all currently running docker containers just use docker ps.
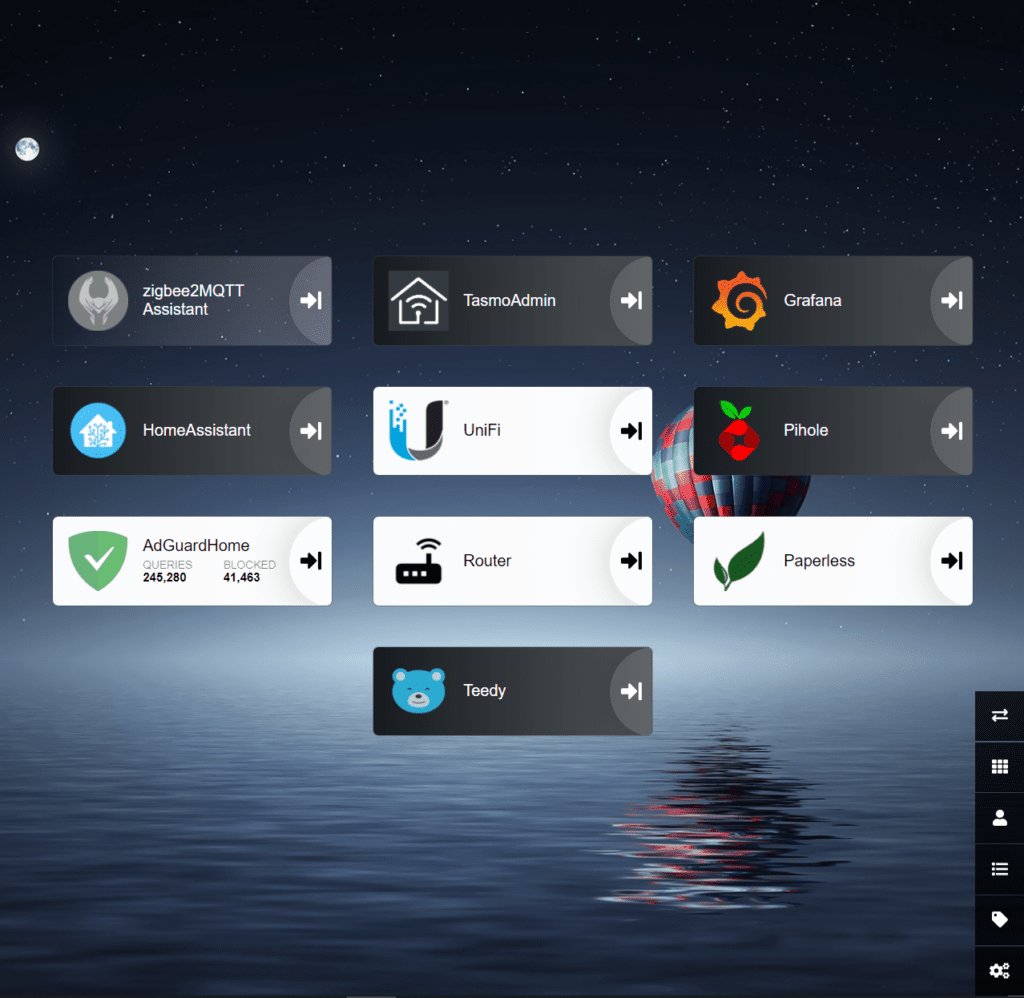
If you are looking for an easy way to remember where to find your services you can also run a dashboard service. I am currently using heimdall. In such a dashboard you can add links to all your running services and then simply share the dashboard URL with your friends/family/other users. Some of the services even have support for some details in the dashboard (like Adguard showing the amount of queries here).
I am currently running around 10 containers on my smart home server and more than 20 on the bigger ZFS based server without any problems. Adding new services is quick and easy without the hassle of providing the right dependencies or unwanted interactions with other existing services. The data backup is also very simple once set up and allows me to pretty quickly move any services to another server if needed.
If you add automated updates via Watchtower to the list this is definitely my favorite way of running services in a home setup so far.
In the next and final part of this series I describe how to set up Traefik as a reverse proxy to make your services available from the Internet (if you want to).