36°C – A smart fan for a cool(er) smart home
Recently it has been super hot in Germany – more than 30°C for weeks and it is not looking to get much cooler. Technology to the rescue! I bought a smart fan that I promptly integrated with my smart home system. Here is how to do it.
Finding a fan
While looking for a good fan online I stumbled upon some Youtube videos comparing different fans. I really liked the Dyson models (they are looking awesome) but those were too expensive for me to just use them for a couple of weeks each year. Instead after reading reviews for a lot of “normal” fans I stumbled upon Xiaomi’s line of smart fans.
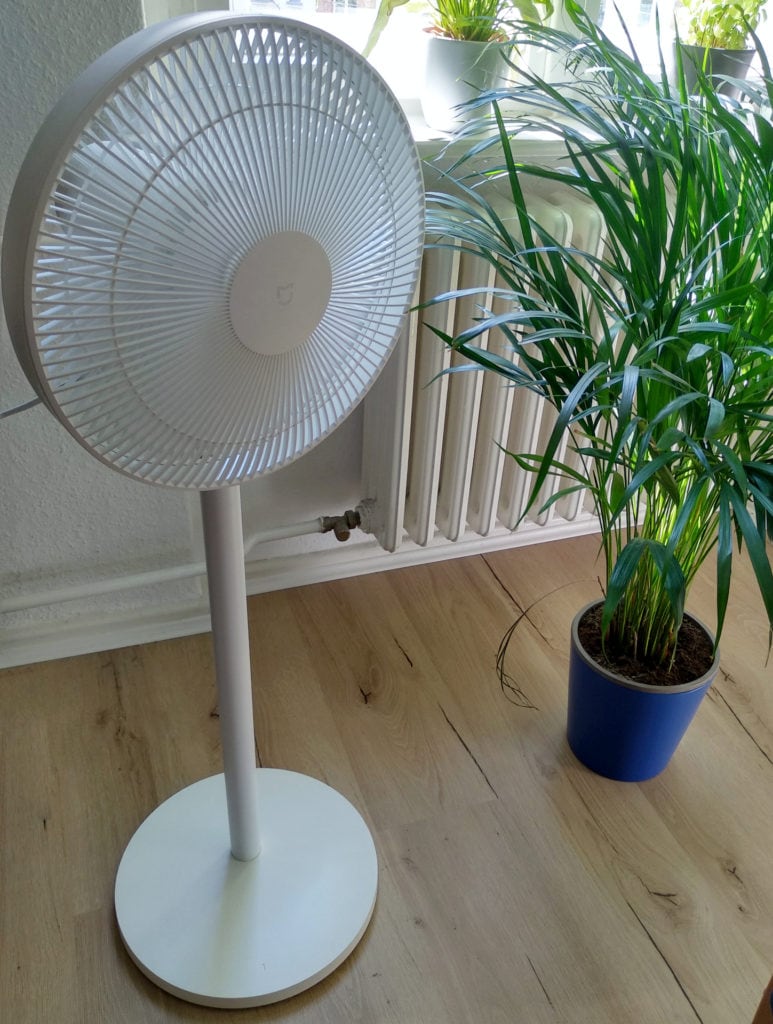
I already own a smart vacuum robot from Xiaomi and I really liked it. I also have their App installed already so I thought why not give it a try. After some more research I found one of their newest models: the Xiaomi Mi smart standing fan 1C. While it looks good (to me) it is pretty nondescript and blends in with the background (which I like). What makes it special is the “smartness”. It can be fully controlled via an App and a Wifi connection.
While Xiaomi also offers other models with supposedly better motors (standing fan 2) and even a battery pack (standing fan 2S) this one seems to be the perfect combination for me. It is quiet enough, I will always use it in range of an outlet, so I don’t need the battery and it is really cheap for a smart model. I paid around 60€ from a German seller with fast delivery but it is supposed to be even cheaper from China.
The Xiaomi Mi smart standing fan 1C
Quite a mouth full that name, right? The fan comes in a well designed package (including a handle for carrying, which I think all packages should have) and consists of several pieces. Fortunately building the fan was quite easy with the included manual and tools. The part about adding the spinning part of the fan was not 100% well explained in the manual but once you start building it the right way becomes quite obvious.
The smart fan has two different possible configurations: you can use only one of the provided tubes and it will be low enough to place it on a desk. Or you know… you could use the Mi smart standing fan as a… well standing fan. That is what I did. In this case you simply screw together two tubes. While the height is not adjustable you are able to angle the actual fan upwards and downwards and it can swivel from side to side. I had no problem getting it to blow air in the right direction.
The fan comes with three different levels. Level 1 is quite inaudible and enough for nice light breeze. I use this setting most of the time. Level 2 is a little bit louder and stronger. I used this at a greater distance (3-5m) where it becomes quiet too and strong enough to reach me. Level 3 though is really loud and stronger than I needed, so I avoid that setting.
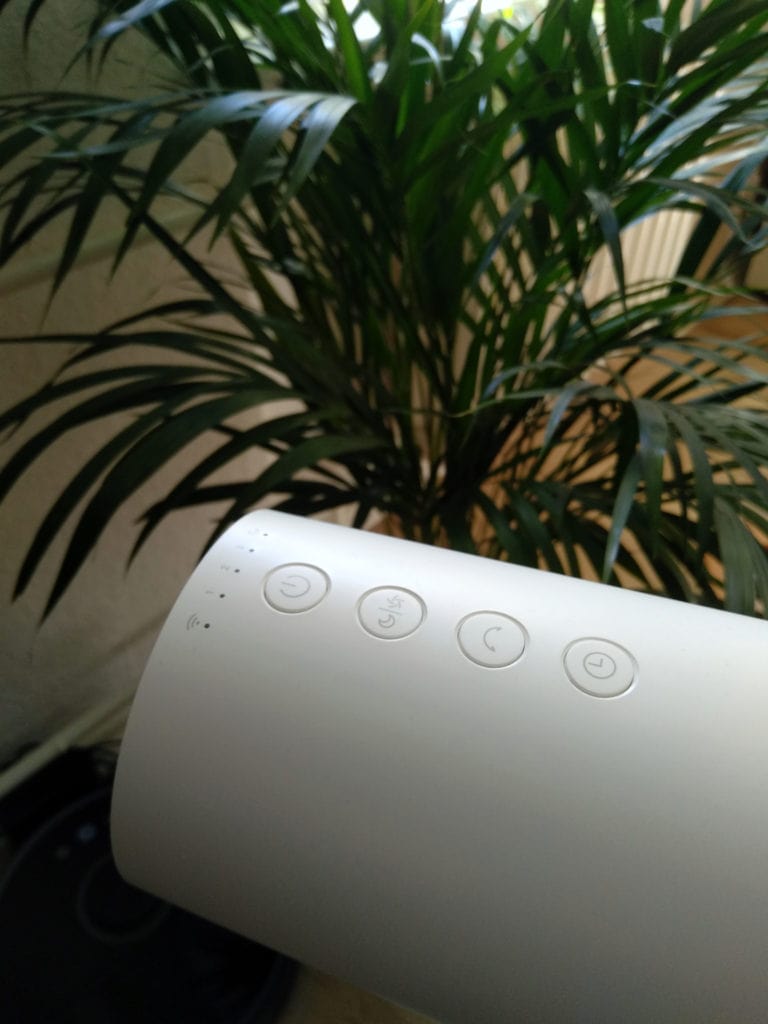
It also includes a mode that simulates wind, a timer to shut down the fan after some time and status LEDs. All settings can be changed via buttons on the fan (which I like) and the App (which I like even more ;)). The only thing that really could have been done better is the cable. It is pretty short (about 2m) and originates from the fan motor. It would have been nice to be able route the cable through through the pipes and have it exit at the bottom.
If you are thinking about getting the same fan consider buying the hardware via my affiliate link(s). It won’t cost you more and pays for my server costs.
Xiaomi Mi Smart fan 1c
The smart part
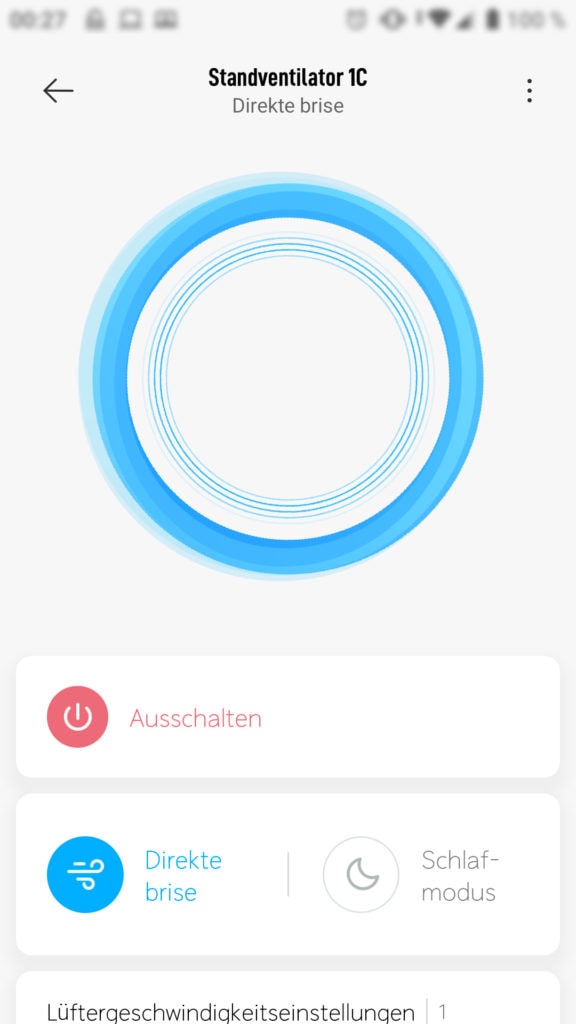
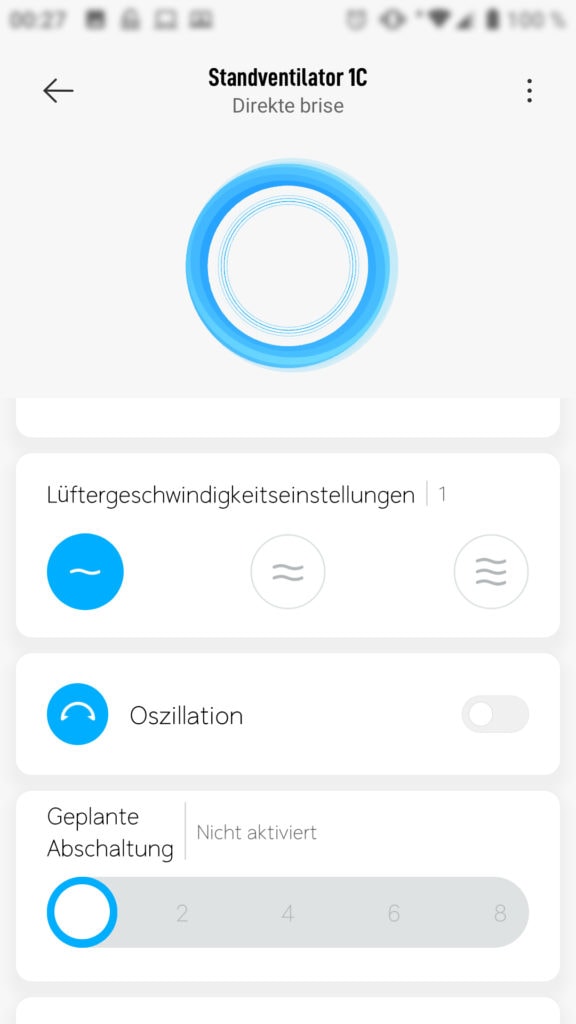
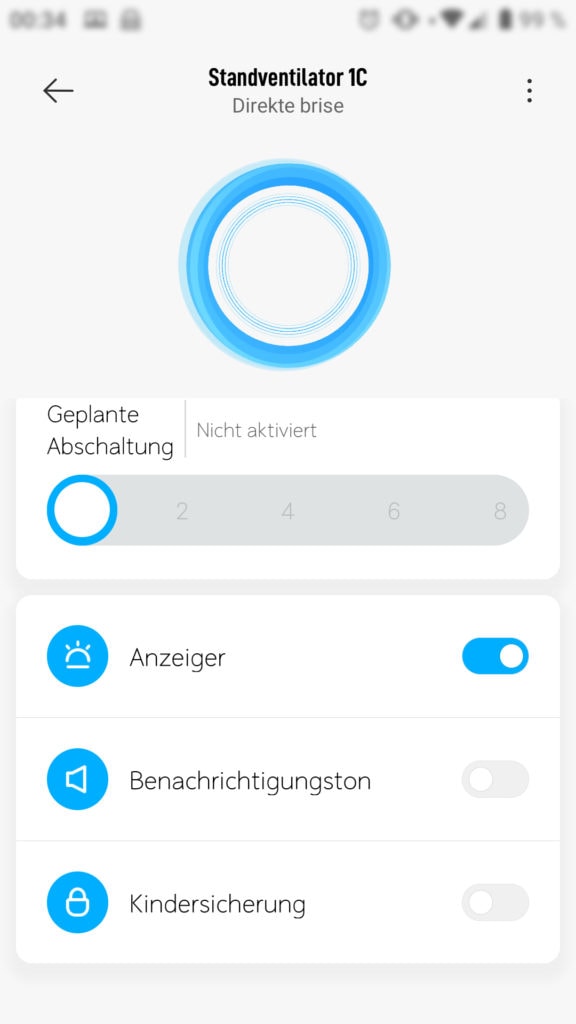
Of all of this is nice but I bought this fan (instead of a cheaper one) because of the app control and to integrate it into my smart home. The smart fan can be controlled via the same App I am already using for my Roborock smart robot: the Xiaomi Home App.
The pairing process via the “+” button in the App was really fast and simple. Of course you need Wifi everywhere you want to use the smart fan. Afterwards it can be controlled directly from the App – providing exactly the same features as via the buttons. Unfortunately more fine grained control over the air flow is also not possible.
I find the interface to be quite simple and elegant. Nothing much to say here. Of course you have to live with the risk of sending some data to a Chinese company.
OpenHab integration
Now the more interesting part for me was the integration into OpenHab. I had the MiiO binding already installed for control over my smart vacuum and it does support this fan too. Unfortunately, as the smart fan 1C is quite new, support is not yet implemented in the current version of the binding. The fan did show up as a new thing in the PaperUI but it was of type generic and I was unable to control it.
OpenHab community to the rescue! Thanks to the awesome and very quick help from Andreas Fink and Marcel Verpaalen in the OpenHab forum I was able to add support for the fan locally. It is really quite easy. Download the json file linked in the forum and place it in /srv/openhab2-conf/misc/miio/ (if you are using OpenHabian).
I had to restart my OpenHab instance afterwards to pick up the new json file but then adding these things and items allowed me to fully control the smart fan.
Thing miio:basic:fan "Xiaomi Fan 1C" [host="192.168.2.123", token="canBeFoundInTheAutodetectedPaperUIThing", deviceId="ABC123", model="dmaker.fan.c1"]If you do not know the token you can check the details of your auto detected MiiO thing in the PaperUI. Otherwise you can also skip the thing definition at all and just use the auto detected thing. You might need to change its model to dmaker.fan.c1 though.
Group               XiaomiSmartFan1C                        "Fan (Xiaomi SmartFan 1C)"                (All)
String              XiaomiSmartFan1C_SSID                   "Fan SSID [%s]"                           (XiaomiSmartFan1C)     {channel="miio:basic:fan:network#ssid"}
String              XiaomiSmartFan1C_BSSID                  "Fan BSSID [%s]"                          (XiaomiSmartFan1C)     {channel="miio:basic:fan:network#bssid"}
Number              XiaomiSmartFan1C_RSSI                   "Fan RSSI [%d]"                           (XiaomiSmartFan1C)     {channel="miio:basic:fan:network#rssi"}
Number              XiaomiSmartFan1C_Live                   "Fan Live [%d]"                           (XiaomiSmartFan1C)     {channel="miio:basic:fan:network#life"}
String              XiaomiSmartFan1C_ExecuteCommand         "Fan ExecuteCommand"                      (XiaomiSmartFan1C)     {channel="miio:basic:fan:actions#commands"}
String              XiaomiSmartFan1C_Manufacturer           "Fan Manufacturer [%s]"                   (XiaomiSmartFan1C)     {channel="miio:basic:fan:Manufacturer"}
String              XiaomiSmartFan1C_Model                  "Fan Model [%s]"                          (XiaomiSmartFan1C)     {channel="miio:basic:fan:Model"}
String              XiaomiSmartFan1C_SerialNumber           "Fan SerialNumber [%s]"                   (XiaomiSmartFan1C)     {channel="miio:basic:fan:SerialNumber"}
String              XiaomiSmartFan1C_FirmwareRevision       "Fan FirmwareRevision [%s]"               (XiaomiSmartFan1C)     {channel="miio:basic:fan:FirmwareRevision"}
Switch              XiaomiSmartFan1C_Status                 "Lüfter"                                  (XiaomiSmartFan1C, grHistory)  ["Switchable"]   {channel="miio:basic:fan:On"}
Number              XiaomiSmartFan1C_Level                  "Fan Level [%d]"                          (XiaomiSmartFan1C)     {channel="miio:basic:fan:FanLevel"}
Switch              XiaomiSmartFan1C_HorizontalSwing        "Fan Horizontal Swing"                    (XiaomiSmartFan1C)     {channel="miio:basic:fan:HorizontalSwing"}
Number              XiaomiSmartFan1C_Mode                   "Fan Mode [%d]"                           (XiaomiSmartFan1C)     {channel="miio:basic:fan:Mode"}
Number              XiaomiSmartFan1C_OffDelayTime           "Fan Power Off Delay Time [%d]"           (XiaomiSmartFan1C)     {channel="miio:basic:fan:OffDelayTime"}
Switch              XiaomiSmartFan1C_Alarm                  "Fan Alarm"                               (XiaomiSmartFan1C)     {channel="miio:basic:fan:Alarm"}
Switch              XiaomiSmartFan1C_Brightness             "Fan Brightness"                          (XiaomiSmartFan1C)     {channel="miio:basic:fan:Brightness"}
Switch              XiaomiSmartFan1C_PhysicalControlsLocked "Fan Physical Control Locked"             (XiaomiSmartFan1C)     {channel="miio:basic:fan:PhysicalControlsLocked"}
Switch              XiaomiSmartFan1C_autoMode               "Fan controlled by rules"                 (XiaomiSmartFan1C)
These items are able to control everything the buttons and the App can control. They even give a little bit more control as you can set the shutdown timer in minutes (instead of just 1,2 or 3 hours).
The most important item is the XiaomiSmartFan1C_Status which is a switch that turns the fan off or on. I added it to the history group so I can track and display the fan status over time in my Grafana dashboard.
I also added the ["Switchable"] tag to integrate the fan with Alexa (via Hue emulation). Now I do not even have to get up on a hot day… just say “Alexa turn on the nameOfTheFan“. Still feels like magic some times 🙂
Automation
Up to this point I think this smart fan setup is already better than any standard fan. Now the real advantage of a smart home is the integration with everything else though. So I started building…
The first step was adding the fan to my “everything off” button that sits right next to my door. One long press there will turn of all the lights in all rooms and now also the fan. I am using a wireless Aqara switch as described in this article.
rule "Add functionality to the main button in the doorway"
when
	Item mainSwitch received update
then
	logDebug("Rule", "Main button state is {}", mainSwitch.state)

	val org.eclipse.xtext.xbase.lib.Procedures$Procedure1<GenericItem> toggle = [
	switchItem |
		if (switchItem.state != ON && switchItem.state != 100) {
			switchItem.sendCommand(ON);
		} else {
			switchItem.sendCommand(OFF);
		}
	]

	if (mainSwitch.state == "single") {
		toggle.apply(BulbHallway_dimmer);
	}

	if (mainSwitch.state == "double") {
		toggle.apply(grLightWZ);
	}

	if (mainSwitch.state == "hold") { // the "everything off" part
		sendCommand(grLight, OFF);
		sendCommand(XiaomiSmartFan1C_Status, OFF); // <- the new part
	}
end
I also build a more advanced rules I called “autofan” to fully automate control of the fan. I have temperature sensors all over my apartment, I have presence detection via motion sensors and a ping to my phone and I have different day times based on this nice ruleset I found in the forums. So I combined it to a rule.
val minTempForFan = 28
val offTimerWhenHome = 60
val offTimerWhenGone = 15

rule "Automatically control the fan"
when
	Item oliverSmartphoneNewAtHome received update
then
    if (XiaomiSmartFan1C_autoMode.state == ON) {
        logDebug("Rule", "Checking fan: Temp living room {}°C and Oliver is home {}", TempLivingRoom_temperature.state, oliverSmartphoneNewAtHome.state)

        if (timeOfDay == "BED") {
            logDebug("Rule", "Do not change fan settings during the night")
        } else {
            if (oliverSmartphoneNewAtHome.state == ON && TempLivingRoom_temperature.state > minTempForFan) {
                logDebug("Rule", "It is getting HOT! Turning on the fan for {} minutes", offTimerWhenHome);
                sendCommand(XiaomiSmartFan1C_Status, ON);
                sendCommand(XiaomiSmartFan1C_OffDelayTime, offTimerWhenHome);
            }

            if (oliverSmartphoneNewAtHome.state == OFF) {
                logDebug("Rule", "Master is gone! Turning off the fan in {} minutes", offTimerWhenGone);
                sendCommand(XiaomiSmartFan1C_Status, ON);
                sendCommand(XiaomiSmartFan1C_OffDelayTime, offTimerWhenGone);
            }
        }
    } else {
        logDebug("Rule", "Fan automode is off. Rules will not be applied");
    }
end
This rule only runs if the XiaomiSmartFan1C_autoMode item from the items file is activated. Then it checks the time of the day and the temperature. If I am at home during the day and the temperature crossed a certain threshold (28°C in this case) the fan will turn on for an hour, prolonging that time until it gets colder.
During the night no more settings are changed, so the fan should turn off after one hour. If I leave the fan will also turn of after 15 minutes. I added this timer because the phone sometimes drops the Wifi connection for a short time and this would cause the fan to turn off even if I am still home.
I am still working on this autofan mode but for now it is working great. If I do not need I can also always turn it off. For the future I am thinking about adding a motion sensor to the fan an controlling it based on that (and temperature and time of day of course).
I also added an overview and control to over the fan to my sitemap.
Frame label="Lüfter" {
        Switch item=XiaomiSmartFan1C_autoMode label="Automode"
        Switch item=XiaomiSmartFan1C_Status label="Power" visibility=[XiaomiSmartFan1C_autoMode==OFF]
        Group item=XiaomiSmartFan1C label="Details" visibility=[XiaomiSmartFan1C_autoMode==OFF] {
                Frame label="Betrieb" {
                    Switch item=XiaomiSmartFan1C_Status label="Power"
                    Switch item=XiaomiSmartFan1C_Level label="Stufe []"  mappings=[1="LOW", 2="MID", 3="HIGH"]
                    Switch item=XiaomiSmartFan1C_HorizontalSwing label="Schwingen"
                    Switch item=XiaomiSmartFan1C_Mode label="Modus []" mappings=[0="Normal", 1="Natural"]
                    Slider item=XiaomiSmartFan1C_OffDelayTime label="Timer (min) [%d min]" minValue=0 maxValue=480
                }

                Frame label="Sonstiges" {
                    Switch item=XiaomiSmartFan1C_Alarm label="Bestätigungstöne"
                    Switch item=XiaomiSmartFan1C_Brightness label="Status LEDs"
                    Switch item=XiaomiSmartFan1C_PhysicalControlsLocked label="Bediensperre"

                    Group item=XiaomiSmartFan1C label="weitere Daten" {
                        Text item=XiaomiSmartFan1C_Manufacturer label="Hersteller [%s]"
                        Text item=XiaomiSmartFan1C_Model label="Modell [%s]"
                        Text item=XiaomiSmartFan1C_SerialNumber label="Seriennummer [%s]"
                        Text item=XiaomiSmartFan1C_FirmwareRevision label="Firmware Version [%s]"
                        Text item=XiaomiSmartFan1C_SSID label="SSID [%s]"
                        Text item=XiaomiSmartFan1C_BSSID label="BSSID [%s]"
                        Text item=XiaomiSmartFan1C_RSSI label="RSSI [%d]"
                        Text item=XiaomiSmartFan1C_Live label="Live [%d]"
                    }
                }
            }
    }
This will show an overview for the fan, including the possibility to enable automode.

More details are also available after clicking that item.
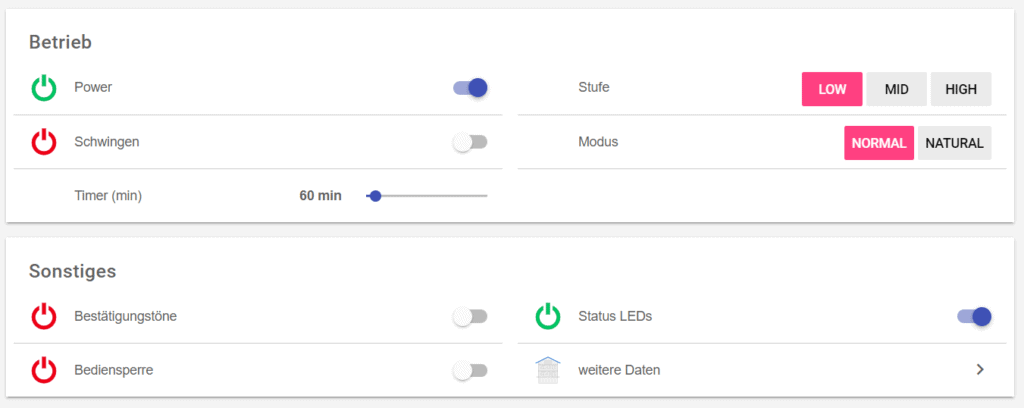
Enabling automode will hide all other controls as they are not needed anymore.

