Water leak sensor – how to build a reliable warning system against water damages for less than 20$
Do you have water pipes, a washing machine or a dishwasher? Awesome perks of modern technology but also a risk. Flooding your house or apartment is neither cheap nor enjoyable. While there is no 100% way to avoid this possibility an early warning system with a water leak sensor will allow you to prevent the worst from happening. This is how I build such a warning system.
The sensor
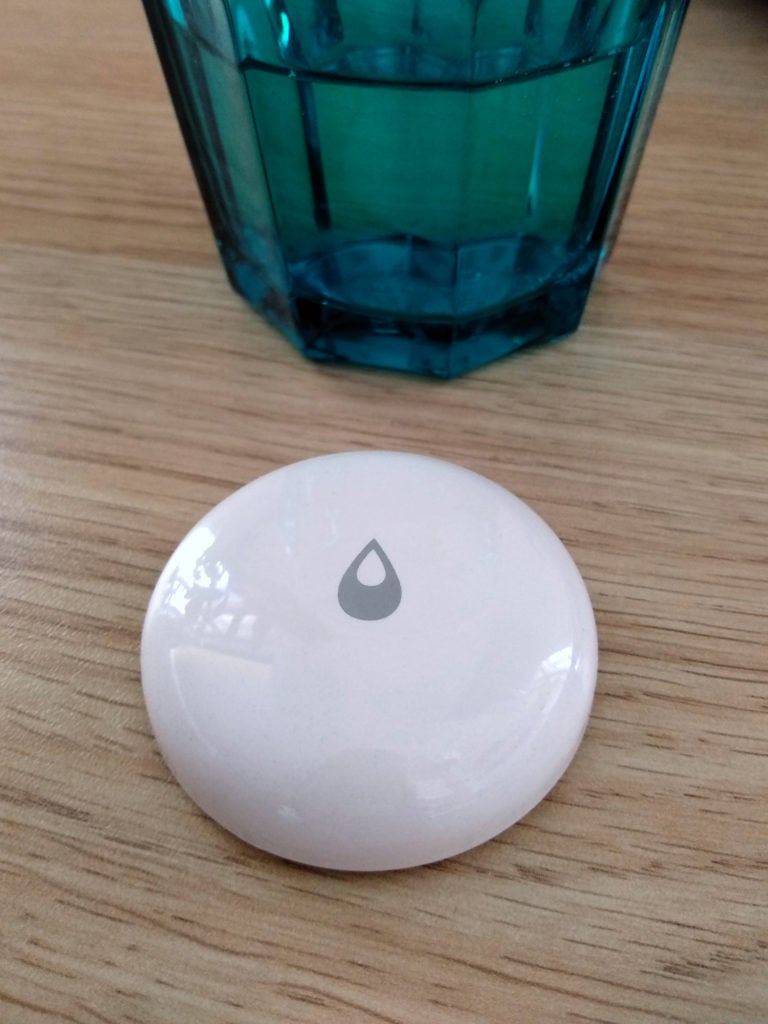
For this warning system against water damages to work we need something that monitors potentially risky areas 24/7. Fortunately there are sensors build exactly for this. They are called water sensor or water leak sensor and usually have two contact at the bottom. Tap water conducts electricity, so when this sensor gets immersed in water the two contacts will be connected and the sensor can send an alarm.
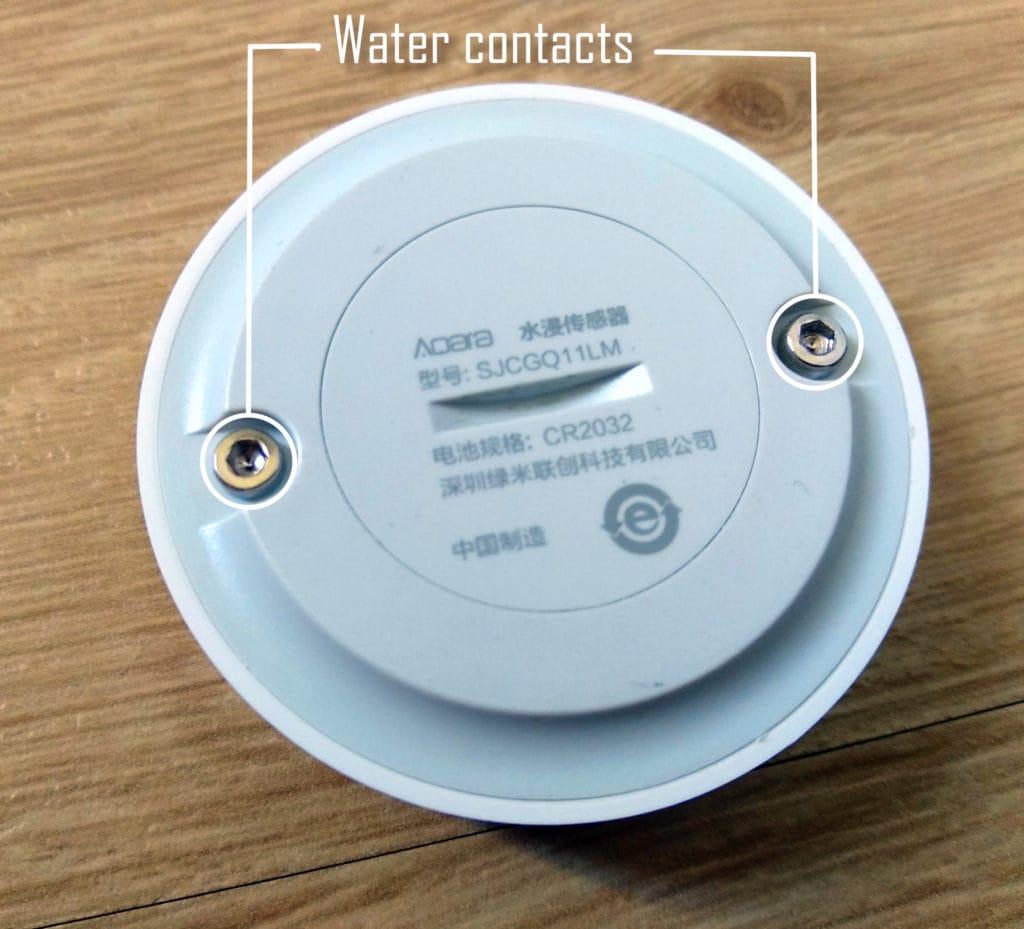
While I found cheap and easy DIY build plans for such a sensor (it is pretty simple after all) for such an alarm system I wanted something more reliable and tested. Still money is a concern and I was also looking for something that integrates well into my existing system. In the end I chose the Aqara water sensor. It is a small flat Zigbee sensor running for several years on a single CR2032 coin cell.
Zigbee makes for a reliable, self repairing network connection and the sensor is supported by the Zigbee2MQTT project which I am already using.
If you are interested in buying the sensor consider doing it via my affiliate link here. It does not cost you any money and allows me to pay the servers 😉
The integration
Once you have the sensor, the actual integration into your smart home system (like OpenHab 2 in my case, or others like HomeAssistant or Domoticz) is pretty easy. First read how I set up Zigbee2MQTT if you do not have that done already.
Now enable new devices for the network via the config yaml
permit_join: trueif not done already. Afterwards simply press the logo on the front of the sensor for about 10 seconds (like squeezing the sensor). Now it should show up in your Zigbee2MQTT logs. Finish by adding a friendly name for your new devices in the config yaml file.
Integration into OpenHab works similarly to other devices as described in my in-depth article. The first step is to create a new “Thing” in your Bridge definition.
Thing topic leak_state "Kitchen Wasser" @ "Kitchen" {
        Channels:
            Type contact   :   leak                "Water leaked"     [ stateTopic="zigbee2mqtt/WaterLeakSensor1", transformationPattern="JS:js/getZigbeeLeak2Contact.js"]
            Type number    :   battery             "Battery"               [ stateTopic="zigbee2mqtt/WaterLeakSensor1", transformationPattern="JSONPATH:$.battery"]
            Type number    :   voltage             "Voltage"               [ stateTopic="zigbee2mqtt/WaterLeakSensor1", transformationPattern="JSONPATH:$.voltage"]
            Type number    :   link                "Link Quality"          [ stateTopic="zigbee2mqtt/WaterLeakSensor1", transformationPattern="JSONPATH:$.linkquality"]
    }
This needs a small new JS file that will translate the water leak property from the sensor to “OPEN”/”CLOSED” for OpenHab.
(function(x){

    var result = "";

    var json = JSON.parse(x);
    if (json.water_leak)
    {
        result="OPEN";
    }
    else
    {
        result="CLOSED";
    }

    return result;

})(input)
The last step is to add a couple of new Items connected to the Things we created earlier.
/* Water leak sensor 1 */
Contact leak_state              "Kitchen: [MAP(leak.map):%s]"  <water>    { channel="mqtt:topic:mosquitto:leak_state:leak" }
Number leak_state_battery       "Battery level [%d%%]"      (grBattery) { channel="mqtt:topic:mosquitto:leak_state:battery" }
Number leak_state_voltage       "Voltage [%d mV]"                      { channel="mqtt:topic:mosquitto:leak_state:voltage" }
Number leak_state_link          "Link Quality"                         { channel="mqtt:topic:mosquitto:leak_state:link" }
That’s it. The items can now be used anywhere in OpenHab like any others. Make sure to test the sensor by putting it into a small amount of water (or just bridging the contacts with your fingers).
The alarm
Well we are not entirely done yet. At the moment our sensor is able to detect water but for us to act we need instant feedback independently from where we are.
I personally solved this via my phone, which I carry with me pretty much all the time anyways. My OpenHab will send me a push message the instant it detects water. As it is not directly reachable from outside my own network I chose to use an external service for this. The service is called Pushover. You buy it once (for each platform, but I only need Android) for 5$ and can use it as long as you want afterwards. Integration into OpenHab is also pretty simple.
Go to your PaperUI and install the “Pushover Action” binding. Now you can use it in this simple rule.
rule "Send alarm when leak in kitchen is detected"
when
Item leak_state received update OPEN
then
logDebug("Rule", "Water leak in kitchen detected")
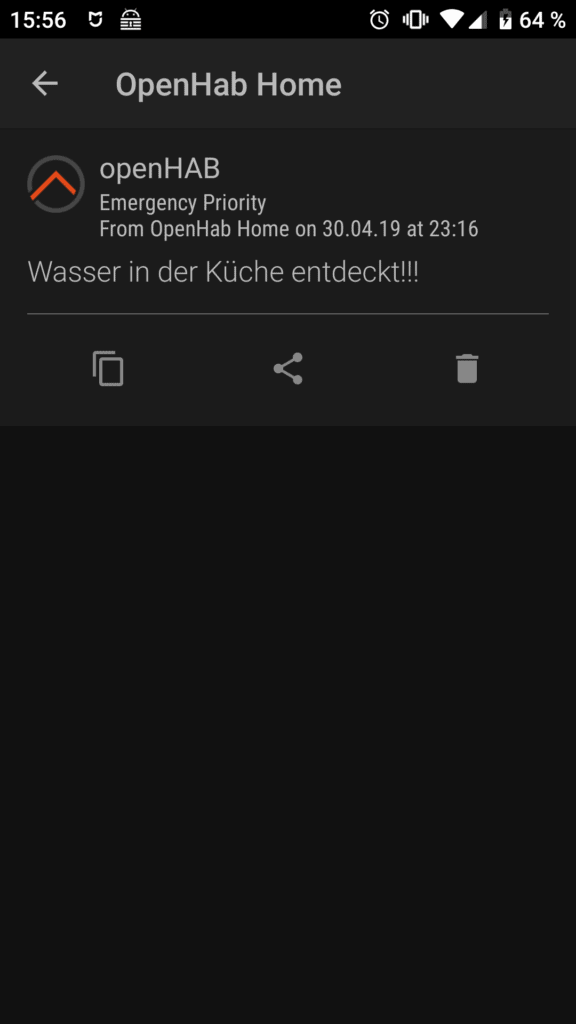
sendPushoverMessage(pushoverBuilder("Wasser in der Küche entdeckt!!!").withEmergencyPriority())
endThis will trigger when the sensor detects water and then send a push notification to my phone on highest priority (it will pop up an alarm on the phone the second it arrives). The text can be provided by you, I chose the German translation of “Water in the kitchen detected”.
That’s it. The sensor has been working super reliable for me and cost only around 10€. This relatively simple setup gives peace of mind for running some of the machines connected to water without sitting next to it all the time.
If you are looking for other simple smart home wins checkout my article about the Tradfri system for beginners. Its a simple start and those can later also be controlled via Zigbee2MQTT ditching the IKEA controller and App.
PS If you are looking for something even easier without OpenHab and your own Hub you could also buy the Aqara Hub. It has lights and a speaker included so it can easily used to alarm everyone to a water leak. If you read my lessons about smart home you know that I don’t really like to go this way though as you will rely on (Chinese?) cloud servers in that case.