A special (Sander)shelf for some very special books
Brandon Sanderson is one of the greatest fantasy authors. His limited edition books are awesome. I built a special shelf to give them an appropriate home.
The mistborn books

The mistborn series is an epic fantasy trilogy – the first one from Brandon Sanderson. While maybe not objectively his best work they rate very high among my favorite books. The magic system, the characters and – no spoilers – the awesome and unexpected end are just another league compared to a lot of other books. If you have not read them and you like fantasy – stop reading here and get the books!
If you want to read awesome books and support this blog consider buying them via these affiliate links
The final empire
The well of ascension
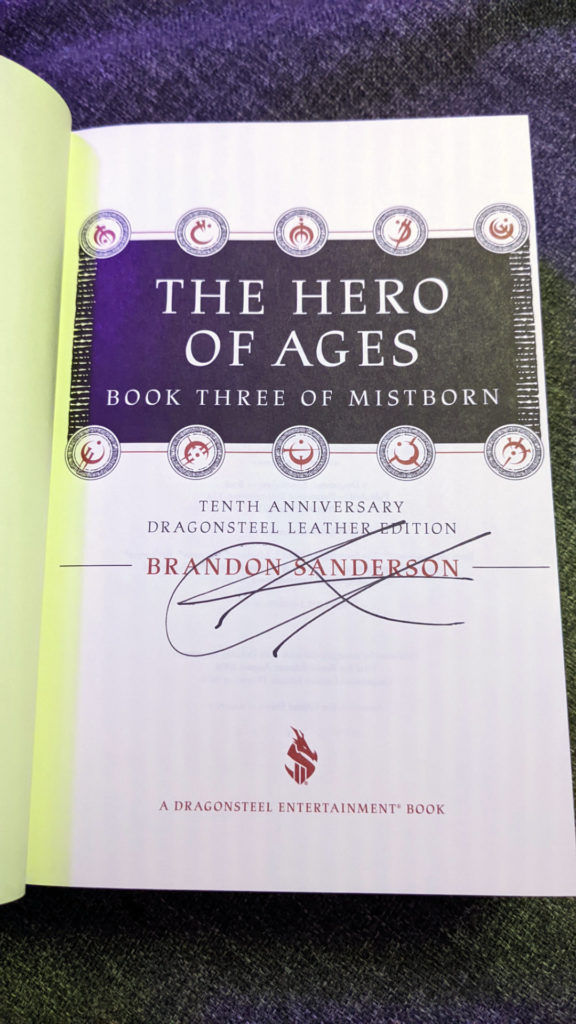
The hero of ages
Full trilogy
The next trilogy
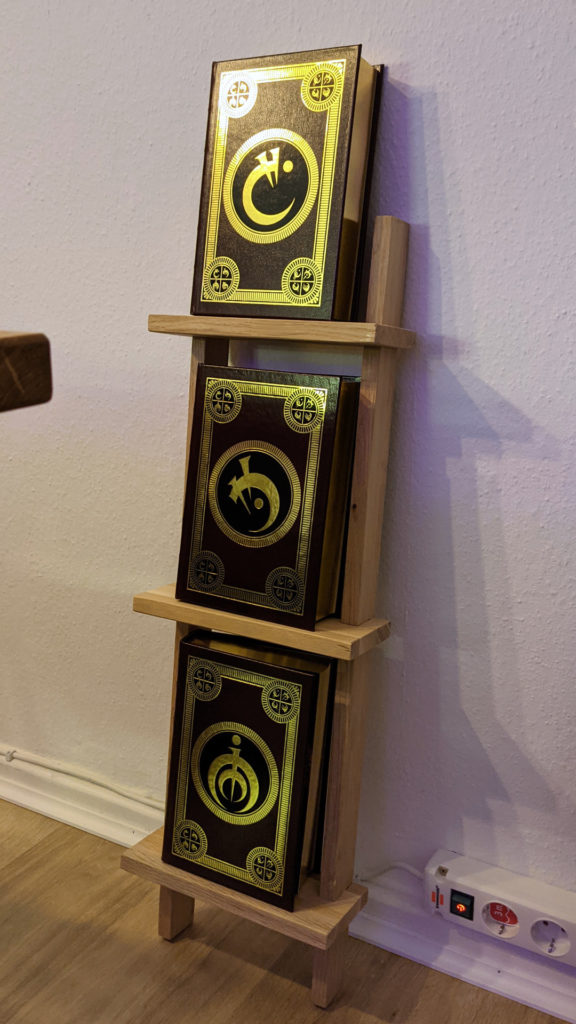
As a huge fan of these books I was easy bait for the marketing of the special hardcover & signed version of the books. They are constantly sold out even though they are quite expensive but I was lucky enough to get one set at the end of last year.
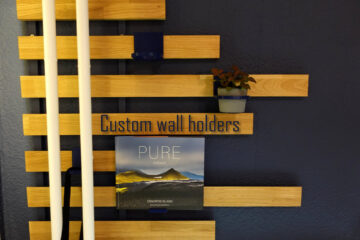
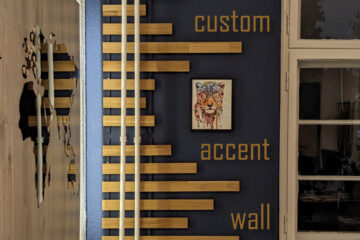
Putting these books into my existing overflowing bookshelf just felt wrong. Even though the black pipes and wood combination looks quite nice in my opinion these books deserve some special place.
Building a Sanders(ons)helf
I started planning and my first idea was building a smaller version of my big shelf just for these books. Unfortunately the pipes used for that are only available in certain sizes which would have made the full thing look very weird.
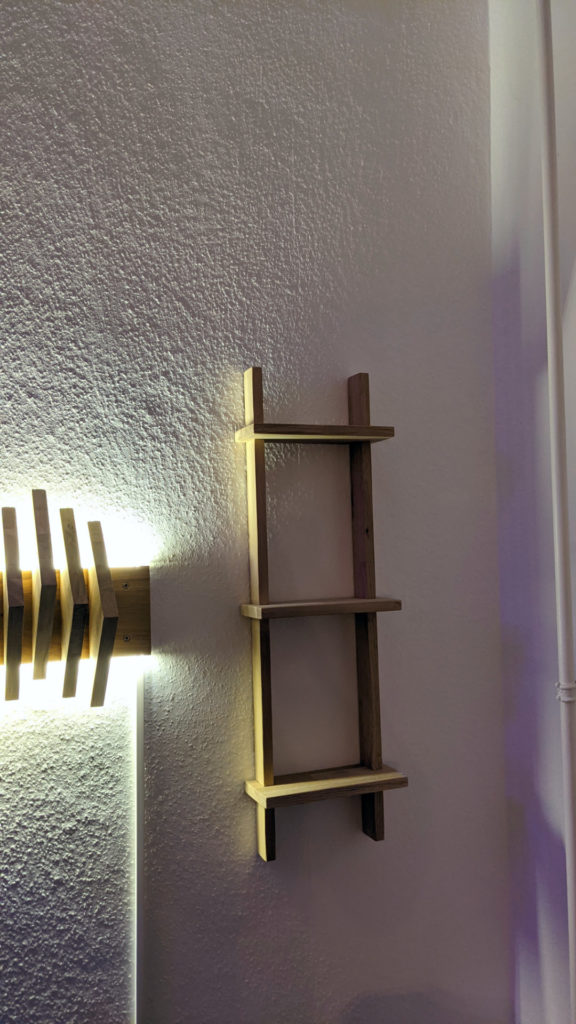
Instead I started constructing a different shelf with these ideas: build from wood, plugged together without screws, nice looking but plain enough to not take away from the glory of the books ;). Here are my super professional sketches for planning.

I still had some of the needed oak wood so I started building. Each board of the shelf is a rectangle of wood with two small cutouts in the back, each the size of the vertical “backbones” of the shelf. I cut those on a table saw by moving them over the saw blade repeatedly and checking for fit in between. It is quite important to take your time here to get a good fit.
After finishing the boards I cut the two vertical pieces from the same wood. They also matching cutouts but rotated 90° in regards to the boards. You can see this idea in the sketches above. Then I started sanding everything. I decided to not add any finish here but I can always do that later if needed.
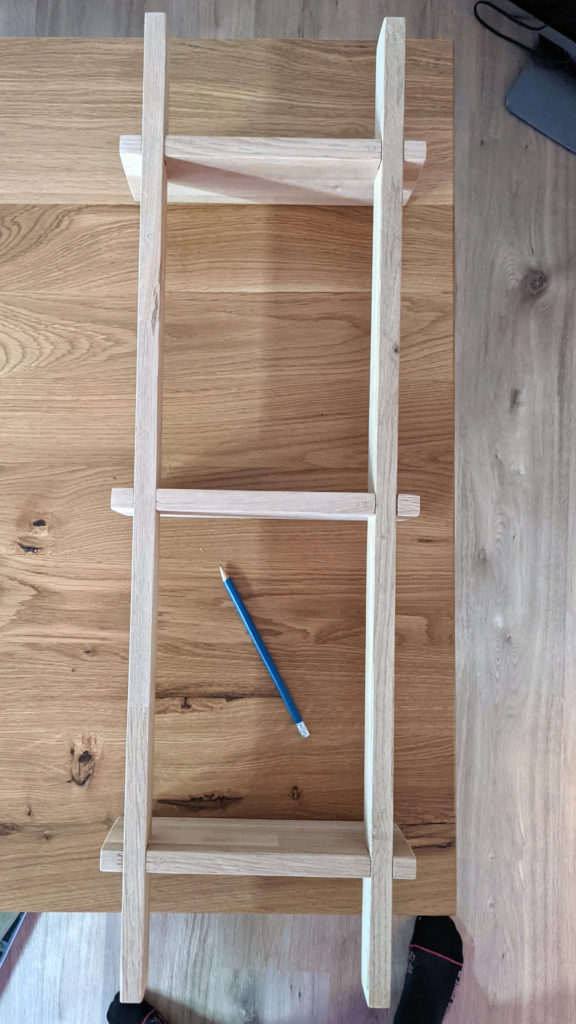
The assembly of the shelf is quite easy. I just pushed all the the boards into the matching gaps with a bit of force and put the whole shelf on the floor to get it level. Time for some test fit:
Mounting the shelf
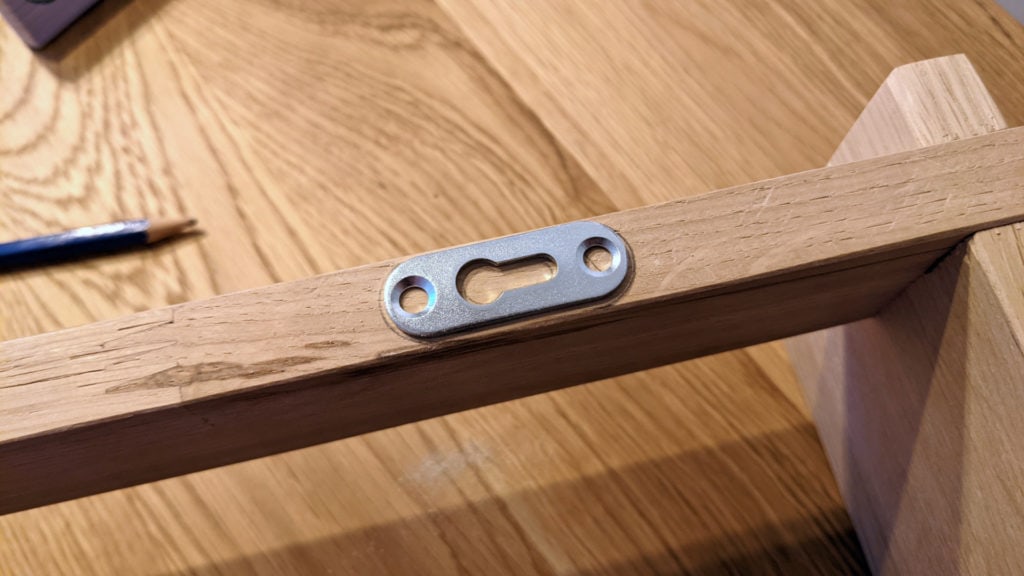
While planning I did not really think about how to mount the shelf to the wall. I though about drilling through the vertical pieces but that would look bad and might make the whole thing unstable (these pieces are very narrow). Instead I was looking for a way to mount this invisible and without drilling through.
My father gave me the right idea: there are these small metal pieces used to mount smaller shelves. They have one bigger opening to push a screw head through and one smaller one that hooks the screw if you move it slightly. I found those under the german name “Einhängebeschlag”.
If you are looking for the same hardware (affiliate link)
Mounting these is not difficult but a bit time consuming. I transferred the size onto the back of each piece and then started drilling to cut out some space for them. A router might be easier for you. Fortunately this does not have to be pretty as you won’t be able to see it anyways once mounted.
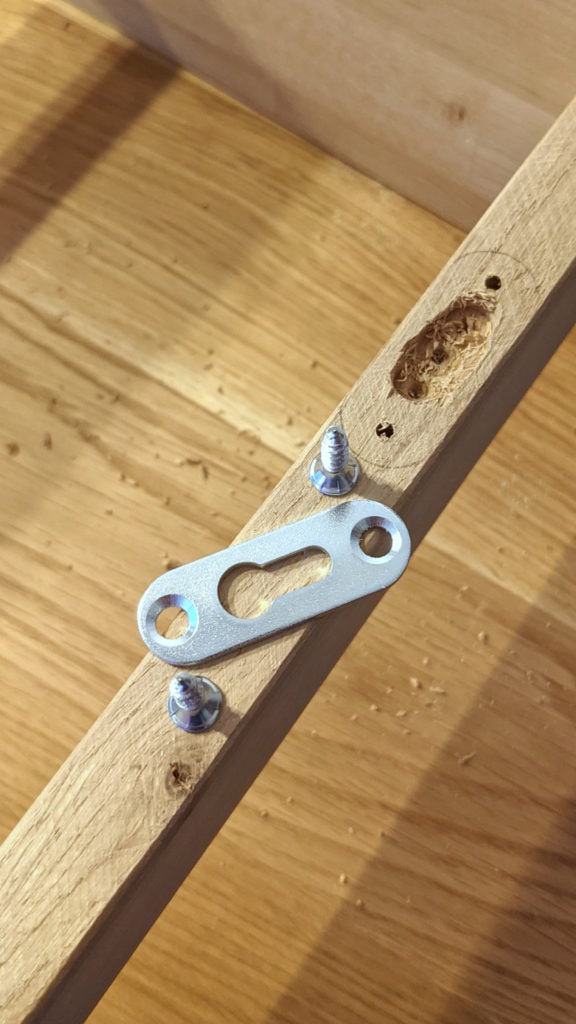
Once these are screwed into the back of the shelf it is simple to mount it. Two wall ankers and screws and the shelf can just be hung from them.

I really like this solution: it is invisible and makes it super easy to remove the shelf again if needed. Just lift it up slightly and remove it from the wall.
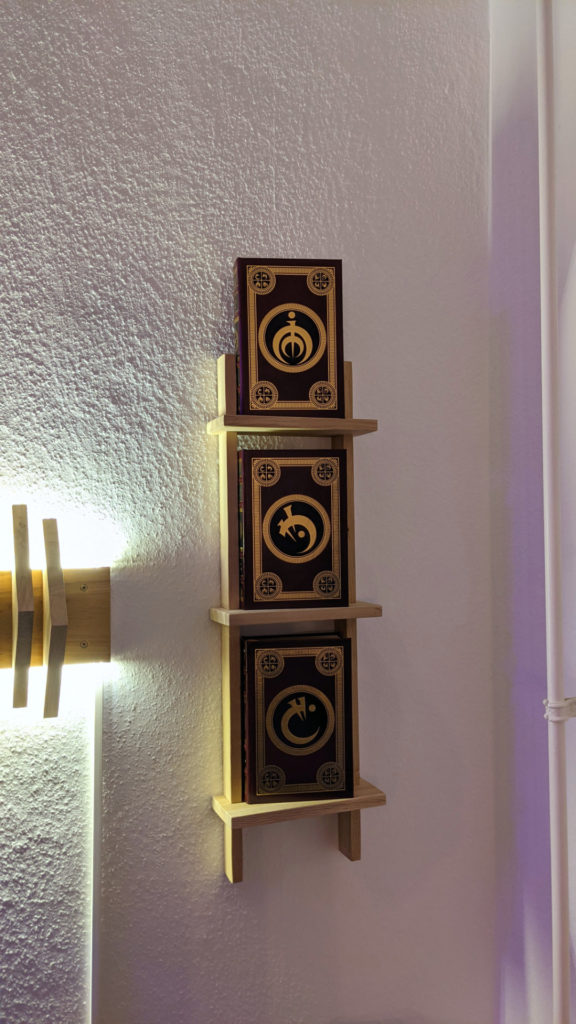
I am satisfied with the result. A minimalist shelf that highlights the awesome books. It also gets some light from the matching custom waveform lamp (I built some time ago) right next to it.