Small powerhouse – extending a Unifi network for cheap with the Flex Mini
Unifi hardware is great for an enthusiast network but can get quite expensive. Fortunately there is a pretty cheap way of extending a Unifi network. The small flex mini switch gives you most of the advantages of the Unifi platform for a small price tag. It also comes in a very small package and has some tricks up its sleeve.
An enthusiasts home network – built with Unifi components
About a year ago I decided that a proper smart home setup needs a strong base. That base is the network equipment and the software running it. To be able to run a reliable network and do some tricks like separating devices into different networks I chose the Unifi platform. These components hit a nice spot between professional gear and a not so professional budget. In the end I came up with this network setup based on good but relatively cheap components.
If you are looking to buy your own new network gear consider doing it via these affiliate links to support this blog. The prices will stay the same for you.
Unifi USG Security Gateway
Unifi US-8-60W Switch with POE on 4 ports
Unifi AP AC Lite can be powered via POE
Unifi Lite 6 the newer model, also with POE
Unifi dream machine to combine all of this into one device
Unifi cloud key gen 2 if you do not want to host the controller yourself
The hardware has been doing great so far and the Unifi controller runs very well on my Pi smart home server. Recently I ran into a problem though. I have one LAN cable going to my desk but I need to connect a couple devices now, including a work machine that should be separated from my personal network.
Extending a Unifi network for cheap
I could in theory run more cables but that is a lot of work and the devices really do not saturate even one gigabit cable. Instead I need a switch at the end of the cable. It needs to be a managed one so I can put different ports into different networks/VLANs. This means I can not use one of the old netgear switches I still have here.
I could use another 8 port (POE) switch like I use at the center of my network but that is relatively expensive and does not really blend in. It also needs a separate power source and has a bit too many ports for what I need. Instead I found a nicer solution: the Flex Mini switch for around 30€.
The mini has a nice “camouflage” small white case that is barely bigger than its five RJ45 slots (one uplink and four more ports for devices). The best part about it is that it can be fully powered via POE. If you have a device already providing power via ethernet, like my 8 port POE switch, you can just connect it and you are done. No additional wires needed. Of course if you don’t have a POE injector you can also power it via an included USB-C power adapter.
If you are interested consider buying a switch via my affiliate link to support this blog
Unifi flex mini
Nice sleeved LAN cables I used to connect it
Adding the Flex Mini to your network
Like any Unifi device it can be set up and managed via the central controller software. I just connected it to my POE switch and adopted it in the controller. The process was pretty quick and took just one click.

After I made sure that the switch is working I moved the cable going to my desk to a POE port on the central 8 port switch and connected it to the flex mini. A new cable connects the mini to my PC (that was previously directly connected to the big switch). That is it. By default all ports are set to the “all” profile which routes every network to this port.
Routing a guest network via the Flex Mini
As I said in the beginning: I have a MacBook that I also want to connect to the Internet but without a connection to the rest of my (private) network. Settings this up with the Flex mini was a breeze. First you need to set up a proper guest network in your Unifi controller if you have not done so yet.
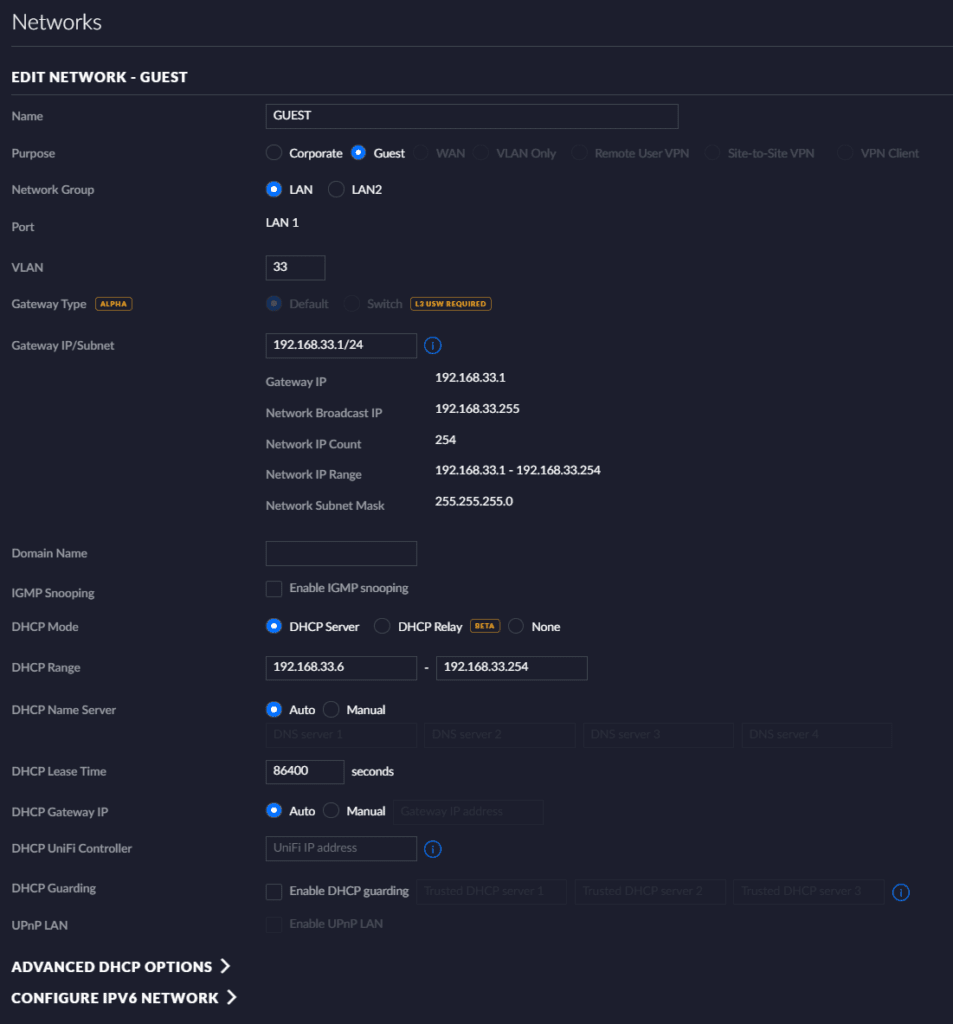
To create such a network just go to the settings and click the network tab on the left side (I am still using the old interface, but the new one should have similar settings). Create a new network here and select “Guest” as the purpose. I also selected a VLAN id of 33 and the matching IP range for the network. The rest of the settings can stay as they are. Safe your change, wait for the controller to provision your devices and you are done.
Now all that is left is to set the port profile for the MacBook. I chose the last port – 5 – on the mini to connect my MacBook to. After going to the devices tab and a click on the flex mini you will see details menu on the right side with all the ports. Clicking on one of the ports opens a settings menu for it.

Here you can select a switch profile – which basically tells the switch which networks (traffic) to route to this port. Selecting the GUEST network here will put the connected device into the separated VLAN 33 guest network. It can now access the Internet but nothing else in the network. Of course the same solution can be used to separate devices into any network. For example I have a different one for IoT devices.
I read that the mini does not have some of the more advanced features of the bigger switches but so far I have not run into any of them. Everything works as expected.
Mounting the Flex Mini
Once all the setup was done I decided to clean up the deployment a bit. While the mini switch is pretty lightweight I don’t like the idea of just hanging it from the cable for a long time. The mini does not come with any mounting options unfortunately but Thingiverse to the rescue: I found this minimalistic wall mount for the switch.
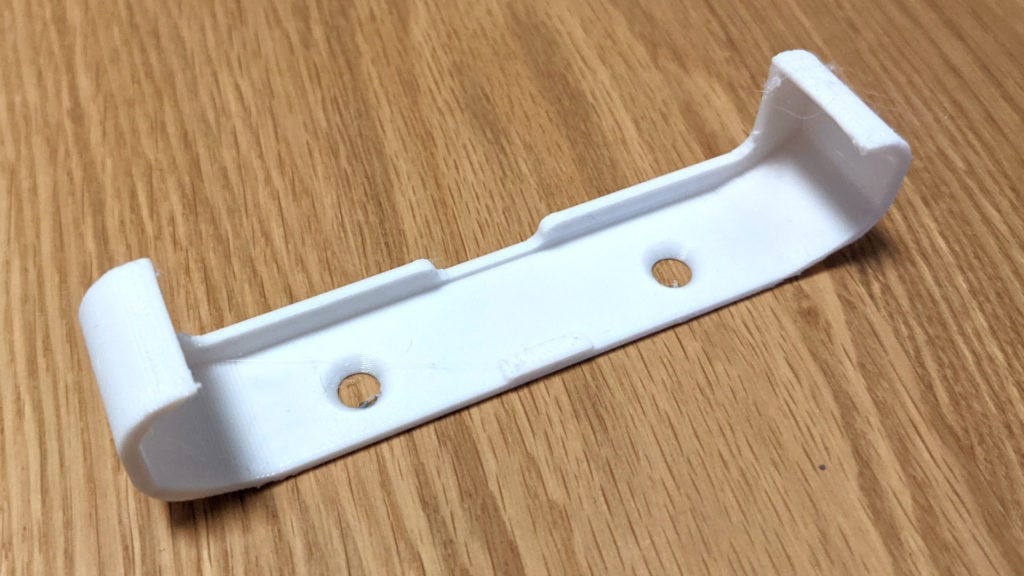
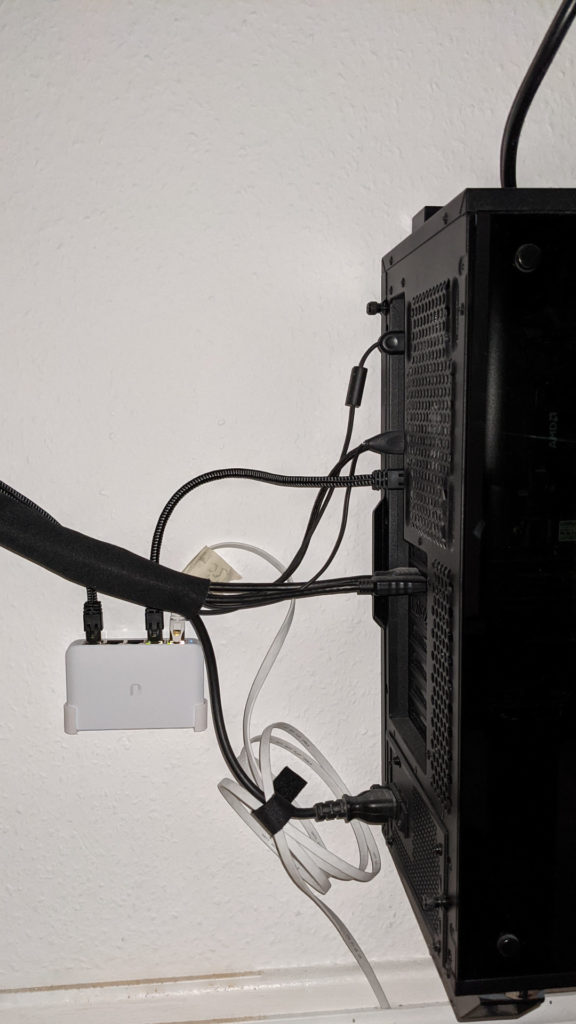
About one hour later my Prusa Mini was done printing and I could now properly mount the switch. Pretty clean setup now in my opinion – looks clean enough for a under-the-desk build.

Overall I am quite happy with the buy. The switch works well, is easy to install and set up, looks clean with the POE trick and did not break the bank at 30€. So far I can only recommend it!