Making services available on the Internet in seconds with Traefik reverse proxy
Hosting your own services is pretty simple with Docker. Making services available everywhere via the web can be tricky. A reverse proxy is a flexible and safe solution for this problem – and Traefik is a reverse proxy build to be used with Docker and docker-compose. Here is how I set it up so that I can add new services in seconds.
Making services available everywhere – it’s not easy
Running your selfhosted services inside your own network can be super useful. Things like a Home Assistant, Grafana and Adguard Home/Pihole are incredible useful inside your own home. For other great services like Nextcloud you will most likely start looking for access from anywhere pretty quickly.
There is a simple solution to that: port forwarding. If you change your routers setting to forward traffic on a certain port to your server then you will be able to access the service running on that port from the Internet. Don’t do this! This will create a huge security risk as this allows direct access to your network. This solution will also stop working the second you try to run more than one service on a similar port.
Instead there are (at least) two better options. The more secure but also less convenient solution is to keep everything in your safe network and use a VPN to access any services. A VPN will basically allow your devices to securely connect to your LAN from anywhere. Then they can act like they are inside the network. This is pretty secure but you will always need to set up a VPN to access your services.
The second solution is a reverse proxy. While a proxy takes your outgoing traffic and routes it somewhere else a reverse proxy does the same with incoming traffic. You can use it to route incoming traffic directed at the same port to different services/ports on your server by relying on some property like the target domain name. There are many such proxies but Traefik is the one I chose for now as it has great support for Docker and docker-compose.

DynDNS & domain – build your own home on the Internet
Before we start with more details on how to set up such a reverse proxy you first need some prerequisites. First you need an always known IP address to reach your home network (and your server within) at all times. Usually a non business connection to your ISP will keep changing your external IP address from time to time. To avoid this breaking your setup every time you need a way to automatically keep track of that IP address.
The solution to that problem is usually a dynamic DNS service. This service gives you an external IP-address/DNS name that will always point to your current IP address. This works by telling your router to inform this service about any changes. Most router support this by default in their settings. I am personally using myfritz which is a DynDNS service from AVM, the manufacturer of the (in Germany very popular) FritzBox routers.
The dynamic DNS service will give you a DNS name that should always work. In case of Myfritz that is something like abcdefghij.myfritz.net. To make this look a bit nicer and be able to simply switch services I decided to use a domain to point to this DNS name. Using a CNAME you can use any subdomain and point it to the existing dynDNS. This way you can build nice URLs like nextcloud.example.com or homeassistant.example.com (with your own domain of course) that point to your own server.
None of this is strictly needed for your setup to work but I urge you to consider this kind of setup to make your life that much easier. A domain name is not very expensive and you can even get DynDNS services for free.
PS Be aware that this might get a bit more complicated if you are using IPv6 or are behind carrier grade NAT.
How to set up Traefik 1 with docker-compose
Ok, so how do we set up Traefik and what does the reverse proxy do? The most important job of the reverse proxy is taking traffic that comes in via a set of ports (usually only 433 and maybe 80) and routing it to the appropriate services and ports on your server. In the case of Traefik it can run in the same Docker network as all your services and route to them internally.
This is shown in the graphic above. All external traffic for a certain port is routed to your server which then routes it your reverse proxy container.
Other than that it can also do a couple of additional things regarding security. As the sole access point you can use it to add additional middleware, like single sign on service, between the Internet and your server. In case of Traefik it will also handle the creation and update of SSL certificates for us. This mean you can actually get proper certificates for free that will let you use your internal services without and warnings in your browser (and in a more secure way). Traefik uses the great Let’s Encrypt for that.
As I already said Traefik can be installed as just another Docker container via docker-compose, making the installation pretty simple. Here is my main docker-compose yaml file including the Traefik setup. I pinned the version to avoid automatic updates. Please be aware that for now I am still using version 1.x of Traefik. Version 2 is out but not really needed for this usecase. I will update at a later point and then of course update this text.
version: "3.3"

networks:
  traefik_proxy:
    external:
      name: traefik_proxy
  default:
    driver: bridge

services:
  traefik:
    hostname: traefik
    image: traefik:v1.7.16
    container_name: traefik
    restart: unless-stopped
    domainname: ${DOMAINNAME}
    networks:
      - default
      - traefik_proxy
    ports:
      - "443:443"
      - "7080:8080"
    labels:
      - "traefik.enable=false"
      - "traefik.backend=traefik"
      - "traefik.docker.network=traefik_proxy"
      - "traefik.frontend.headers.SSLRedirect=true"
      - "traefik.frontend.headers.STSSeconds=315360000"
      - "traefik.frontend.headers.browserXSSFilter=true"
      - "traefik.frontend.headers.contentTypeNosniff=true"
      - "traefik.frontend.headers.forceSTSHeader=true"
      - "traefik.frontend.headers.SSLHost=${DOMAINNAME}"
      - "traefik.frontend.headers.STSIncludeSubdomains=true"
      - "traefik.frontend.headers.STSPreload=true"
      - "traefik.frontend.headers.frameDeny=true"
      - "com.centurylinklabs.watchtower.enable=false"
    volumes:
      - "/var/run/docker.sock:/var/run/docker.sock:ro"
      - "${DATADIR}/traefik/traefik.toml:/traefik.toml"
      - "${DATADIR}/traefik/acme:/etc/traefik/acme"

# ... other services
Basic configuration
Traefik works mainly via labels which you can use right inside the yaml file to change settings. Lets have a closer look at the Traefik container. First of all I added a couple of ports. 443 for HTTPS traffic is the most important one. This is what is coming from my router (needs port forwarding) with all the traffic from outside. Port 7080 (which is 8080 internally) is only used inside my LAN to show the Traefik control panel.
The next important part are the volumes. To be able to automatically find other running containers and route to them Traefik needs access to the Docker socket. To avoid accidental manipulation of that I mounted this in read only mode by using the :ro. I also added two more volumes similar to how I described it in my previous post about my docker-compose setup. The traefik.toml file will later be used for more configurations and the /acme folder will store your certificate data.
This toml file looks like this
debug = false

logLevel = "INFO" #DEBUG, INFO, WARN, ERROR, FATAL, PANIC
InsecureSkipVerify = true # skips certificate checking, usually don't do this unless you run into problems
defaultEntryPoints = ["https", "http"]

# This will hide all docker containers that don't have explicitly set label to "enable"
exposedbydefault = false

# WEB interface of Traefik - it will show web page with overview of frontend and backend configurations
[api]
  entryPoint = "traefik"
  dashboard = true
  address = ":8080"

# Force HTTPS
[entryPoints]
  [entryPoints.http]
  address = ":80"
    [entryPoints.http.redirect]
    entryPoint = "https"
  [entryPoints.https]
  address = ":443"
    [entryPoints.https.tls]

# for later use with non-docker apps
#[file]
#  watch = true
#  filename = "/etc/traefik/rules.toml"

# Let's encrypt configuration
[acme]
  email = "${LETSENCRYPT_EMAIL}"
  storage = "/etc/traefik/acme/acme.json"
  entryPoint = "https"
  acmeLogging = true
  OnHostRule = true
[acme.tlsChallenge]
#[acme.httpChallenge]
#  entryPoint = "http"


# Connection to docker host system (docker.sock)
[docker]
  endpoint = "unix:///var/run/docker.sock"
  domain = "${DOMAINNAME}"
This includes a couple of very important settings. The most important ones are the entry points. I defined port 80 (which is not forwarded right now but could be used locally) as forwarded to port 433 where the real traffic is coming in. This tells Traefik to listen to these ports. Then I also set exposedbydefault to false to avoid accidentally exposing services. This means that Traefik will only export those services to the Internet that I explicitly mark as exposed.
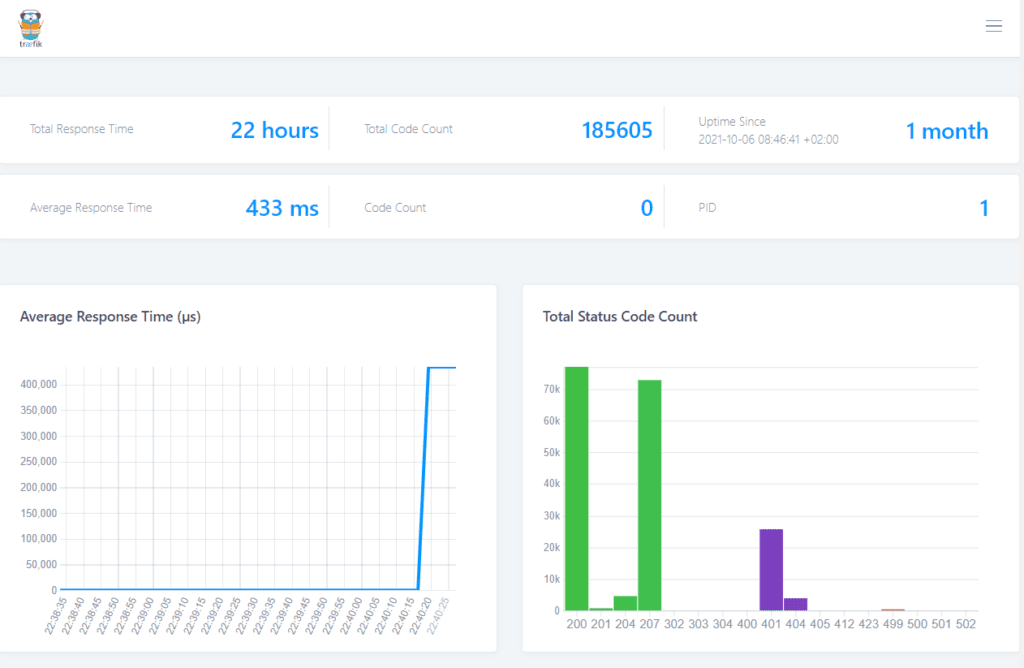
There is also the api section where I enabled the Traefik dashboard, a web page withe some information about your setup, and made it available on port 8080. This is redirected to 7080 in the yaml above as port 8080 was already taken. You could also just change it here.

The Docker section describes the endpoint that Traefik uses to find containers (that is why we needed the volume mapping above) and sets the default domain name to my domain (coming in as a variable). These can be used as this file will be copied to its final position by Ansible here. In that moment it will fill these placeholders with real data coming from the main_vars.yml file.
Finally there is also a section about certificates but more on that later.
Configuration using labels
As I wrote above the settings for each container can be controlled via labels directly from the yaml file. traefik.enable = false tells Traefik to not expose itself to the web. This does not mean that Traefik in general is disabled. backend = traefik gives it a name as a backend/service and traefik.docker.network=traefik_proxy tells it in which network to look for services.
As we have already seen in my setup guide for docker-compose we can define different networks to separate services. In my setup I have one common netwrok called traefik_proxy that is created by Ansible and can be used everywhere as well as one network per yaml file that will be used for internal communication only. The traefik proxy network needs to be defined in each yaml file at the top and then added to each service that should be exposed to the Internet. This way Traefik can automatically find it and route traffic to it.
Finally there is a label to disable automatic updates via watchtower and a set of headers that get added to routed traffic for my Nextcloud setup to work properly.
Certificates
If your browser wants to contact any server on the Internet via an encrypted HTTPs connection that server needs a valid certificate. Otherwise the browser will rightfully complain as the connection is not really secure. That means if you want to expose your own services (via your domain) you need valid certificates from a source that most browsers trust. Fortunately this is pretty simple with Let’s encrypt, a free service.
Traefik can be configured to use Let’s encrypt to automatically create certificates for each service you expose in a couple of different ways. To give you these certificates Let’s encrypt needs to make sure that you are really the owner of the domain. This can be done via one of three challenges (supported by Traefik): HTTP, DNS or TLS.
The HTTP challenge creates a small temporary file that Let’s encrypt can read. This needs port 80 though, so it did not work in my current setup. The DNS challenge creates a custom DNS entry and that needs to be supported by your domain/DynDNS provider. Mine was not supported at that time so I chose the TLS challenge. This is great because it works via the 433 port that I am using anyways.
The toml also includes an email address that Let’s encrypt will use to contact you (for example when your certificate runs out, no spam so far) and a link to your entry point – in this case https which was defined as port 433. You also provide a storage file that will be used to store your existing certificates. That is the one I also set up as a volume above.
After you configure these settings via the toml file and the labels you can start Traefik and it will automatically start generating (and updating!) certificates for any service you want to expose. Pretty neat! Be aware though that Let’s encrypt has rate limiting. Usually this is not a problem but if your setup is not quite right and you constantly retry the challenge then you will be banned for a day and have to retry afterwards.
How to add a new service to Traefik
Now that we are done with all this (a bit complicated) setup, how do we actually expose a service? Fortunately this is where the hard work pays of, as this step is super easy. First, if you want it to be reachable via subdomain, you have to create that in your providers settings and forward it to your server as described above.
Then you define a new service in a docker-compose file like you would usually do it, add your proxy network and set a couple of labels. That’s it! This is how that looks like:
version: '3.3'

networks:
  traefik_proxy:
    external:
      name: traefik_proxy
  default:
    driver: bridge

services:
  teamspeak:
    restart: unless-stopped
    image: teamspeak
    container_name: teamspeak
    depends_on:
      - db
    ports:
      - 9987:9987/udp
      - 10011:10011
      - 30033:30033
    environment:
      TS3SERVER_DB_PLUGIN: ts3db_mariadb
      TS3SERVER_DB_SQLCREATEPATH: create_mariadb
      TS3SERVER_DB_HOST: db
      TS3SERVER_DB_USER: ${MYSQL_TS_USER}
      TS3SERVER_DB_PASSWORD: ${MYSQL_TS_PASSWORD}
      TS3SERVER_DB_NAME: teamspeak
      TS3SERVER_DB_WAITUNTILREADY: 30
      TS3SERVER_LICENSE: accept
    networks:
      - default
      - traefik_proxy
    labels:
      - "traefik.enable=true"
      - "traefik.backend=teamspeak"
      - "traefik.frontend.rule=Host:teamspeak.${DOMAINNAME}"
      - "traefik.port=9987"
      - "traefik.protocol=udp"
      - "traefik.docker.network=traefik_proxy"

  db:
    image: mariadb
    restart: unless-stopped
    container_name: mariadb_ts
    networks:
      - default
    volumes:
      - "${DATADIR}/TS_db/db:/var/lib/mysql"
    environment:
      - PUID=${PUID}
      - PGID=${PGID}
      - TZ=${TZ}
      - MYSQL_ROOT_PASSWORD=${MYSQL_ROOT_PASSWORD}
      - MYSQL_DATABASE=${MYSQL_TS_DB}
      - MYSQL_USER=${MYSQL_TS_USER}
      - MYSQL_PASSWORD=${MYSQL_TS_PASSWORD}
I simply defined my services as I always would. In this case it is a Teamspeak server. It has a database and the actual software running in a container. I pulled in the external proxy network in the beginning and assigned it to the container under networks:. This way Traefik is able to find it. Then I added a couple of traefik.* labels.
enable=trueis the key attribute that makes Traefik expose this servicebackend=teamspeakjust gives a name to this service from Traefiks perspective (details about these concepts are here)frontend.rule=Host:teamspeak.${DOMAINNAME}tells Traefik what to route to this backend/service. In this case traffic is filtered by host name which is the subdomain I chose for this service. The name of the domain can easily be changed and is reused via the environment variable. This means all incoming traffic toteamspeak.example.com, or whatever your domain is, is routed to this container-
port=9987tells Traefik to which port it should route the traffic. As this is directly working with the container there is no need to expose this port (even thought I also did this here) protocol=udptells Traefik which protocoll to route. By default TCP is used but Teamspeak uses UDPdocker.network=traefik_proxytells Traefik which network to use to find the container. This might work by default but it is safer to specify this if the container is in multiple networks.
That’s it! You can do exactly the same thing for any other container by simply changing the subdomain, port and protocol to your liking. This makes Traefik a pretty powerful tool in my opinion. No need to change separate config files once this is set up, just define everything in the yaml file your write anyways.
Automatic installation
As always in this guide the installation process is mostly automated via Ansible. Make sure to update the Traefik related variable in the main_vars.yml file before you run it but then the playbook will copy your Traefik toml file and create the needed Docker network. Afterwards you can just start the core docker-compose file.
You can find all these files in my GitHub repository.


