Setting up a new smart home with Home Assistant – Using blueprints for easy automations
Blueprints are an awesome new feature in Home Assistant that allow you to build & share generic automations for similar situations. You build a smart home to be able to automate common tasks but sometimes you do not have the time or knowledge to create them. That is where you can easily use automations created by other via blueprints. Here is how I used them.
If you are looking to start your own smart home system I described my full setup in part one and two of this series.
What are blueprints?
Automation blueprints are like blueprints for a generic building. They define how everything has to look like in general but they are missing specifics. Home Assistant blueprints are automations where the inputs and outputs are only provided when you want to use them.
They are very handy when you have many similar automations or automations that you want to share with others. One example: lets imagine you want to receive a warning when a sensors battery is low. You can create a blueprint that has a battery value as input and a notification service as output. Inside you define your logic for the warning.
Afterwards you can apply this blueprint to any sensors you have (for example by using temperature_sensor_1 as input and pushover_notification_service as output). You can also just as easily (as a blueprint is just a yaml file) share it with other who can use it to very easily create their own automation based on your work.
Using blueprints
Using blueprints in Home Assistant is pretty easy. You either create a new one by adding a new yaml file or you download and edit an existing one.
Downloading a blueprint
The simplest way to add a new blueprint to your smart home system is by going to the blueprints exchange in the Home Assistant forum. Simply find a blueprint you would like to add to your setup and copy the ULR. Now go to “Configuration” -> “Automations” in your Home Assistant and head over to the “Blueprints” tab.
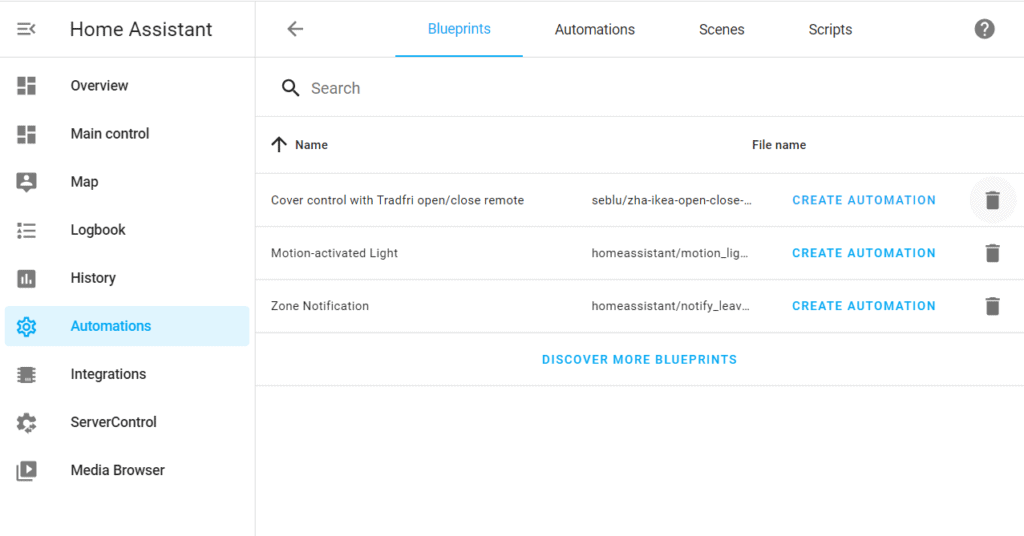
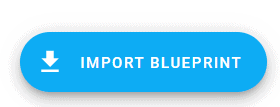
If you are wondering where I got this Automations entry in the side menu from: this is how to add custom entries to your side menu. Now just click big import button at the bottom of your screen and paste the URL from the forum. You should be able to preview and import the blueprint from here.
Once imported there should be a new entry for this blueprint in the list above. You are now ready to use it.
Using a blueprint in an automation
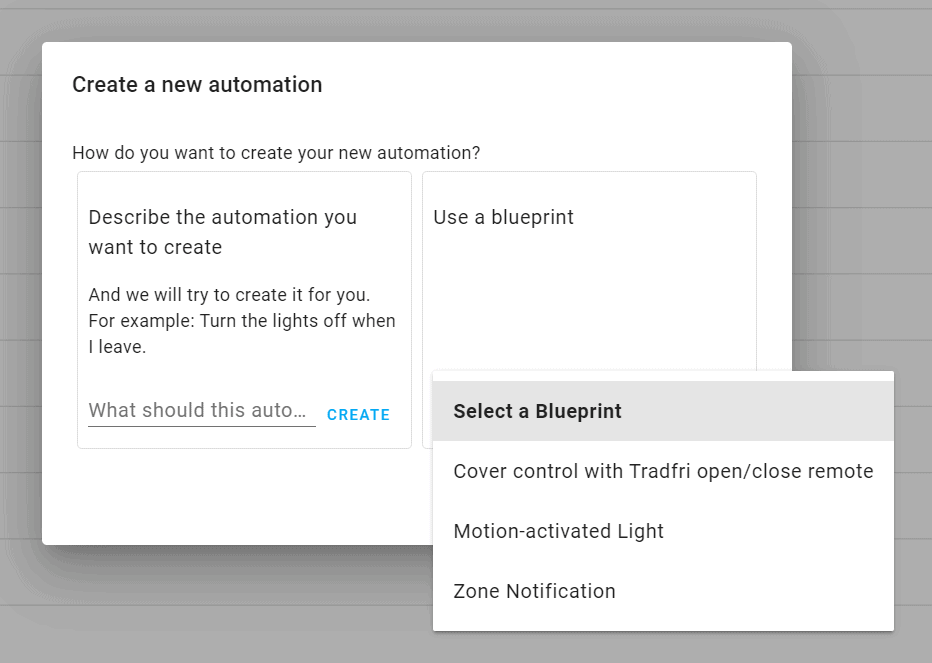
Blueprints themselves are just a template. To actually use them you need to create automations. Head back over to the automations menu, click add and select the blueprint you just added.
A new page will open where you can input all the details. Name and description should be clear but the part below that is really interesting. Defined by the author of the blueprint you will see some explanation here and be able to select all the devices you need for the automation.

The cool part about creating automations this way is that the selection is already being filtered based on the input from the blueprint. The remote field in the example above will only show remotes from IKEA for example.
This makes it so much easier to find the right devices and makes automations based on blueprints really easy to create.
Editing a blueprint
Sometimes the downloaded might have an error or you just want to slightly tweak it. Fortunately that is also very easy, you just need access to the Home Assistant file system.
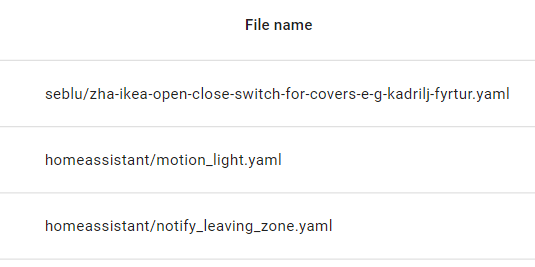
The blueprints can be found in the config folder under config/blueprints/automation/name/blueprintname.yaml where “name” is usually the author. That last part can be found in the blueprint overview in Home Assistant.
Just open one of the files and edit it with any text editor. I either user Visual Studio Code or nano if I am directly working on the Raspberry Pi. Remember to restart Home Assistant afterwards for it to pick up the changes.
I had to do this for one blueprint which deals with IKEA devices. The manufacturer filter for the input devices was set to a weird value that did not allow me to pick my device. After changing it to “IKEA of Sweden” everything worked correctly.
Creating a blueprint
Finally if you can’t find the desired blueprint online you can also always create and share(!) your own. You can find the official tutorial here. While it takes some time to create one it is not overly complicated.
Start by creating a new yaml file with this sceleton code. Add a name and a description and define the inputs you will need. Each one can have certain filters for easier use later on.
blueprint:
   name: a cool name
   description: '..'
   domain: automation
   input:
     a:
       name: input1
       description: …
       selector:
         device:
           …
     b:
       name: input2
       description: …
       selector:
         …
   source_url: put a URL here if you uploaded your blueprint to e.g. github
 trigger:
 (set of events to trigger this blueprint)
 action:
 (set of actions to do once triggered)
 mode: restart
The list of all possible values can be found here. Use this template to fill in your desired values. In general this will just wait until the trigger section happens and then run the actions you define. The mode is used to decide what happens when the action is triggered before a run is finished.
If you are looking for an example just open the “motion_light.yaml” file that is included in Home Assistant. It turns lights on/off based on a motion sensor and is a very simple blueprint.
Overall blueprints are a pretty awesome feature that I plan on using a lot. I will try to develop some for re-occurring automations and will of course share any that seem to be worth the effort. I already found a great amount of useful blueprints in the exchange online, especially for Zigbee(2MQTT) and ZHA related products.


