Setting up a new smart home with Home Assistant – Part One: hardware & setup
It is time! I am building a new smart home server for 2021. Home Assistant, Docker, Pi-hole & more, everything on one Raspberry Pi. Lets get ready by assembling the hardware and setting everything up.
I have been running Openhabian on a Raspberry Pi 3 for years and it has been a great system. So “unfortunately” I had no excuse to try out something new. When I recently moved to a new apartment I decided to use this opportunity to finally try out another popular smart home system: Home Assistant.
This time I will not simply use a pre-built image though as I want the system to be able to run multiple applications. While Home Assistant comes in a version which allows you to install additional software I want full flexibility. I have some experience with Docker (compose), so I will use the Home Assistant image and add everything else I need manually.
All of this is still work in progress. I am learning Home Assistant while writing this. If you are looking for something similar follow along on my journey to a new super smart home system.
The hardware
Most smart home systems are not terribly resource hungry, but I would like to also run some other applications like Pi-Hole, Grafana and the UniFi controller. Therefore I decided to give the newer and more powerful Raspberry Pi 4 a try. The 2GB version should be enough but of course you can also get the bigger one.
You can find all the hardware needed to built a similar server. More details and the list of my components can be found in my custom smart home server guide.
Building the server is really simple. I took the heatsinks, peeled of the tape below and stuck them to the 3 chips producing the most heat (see picture). Afterwards everything can be put into the case. This will help keeping the dust out.
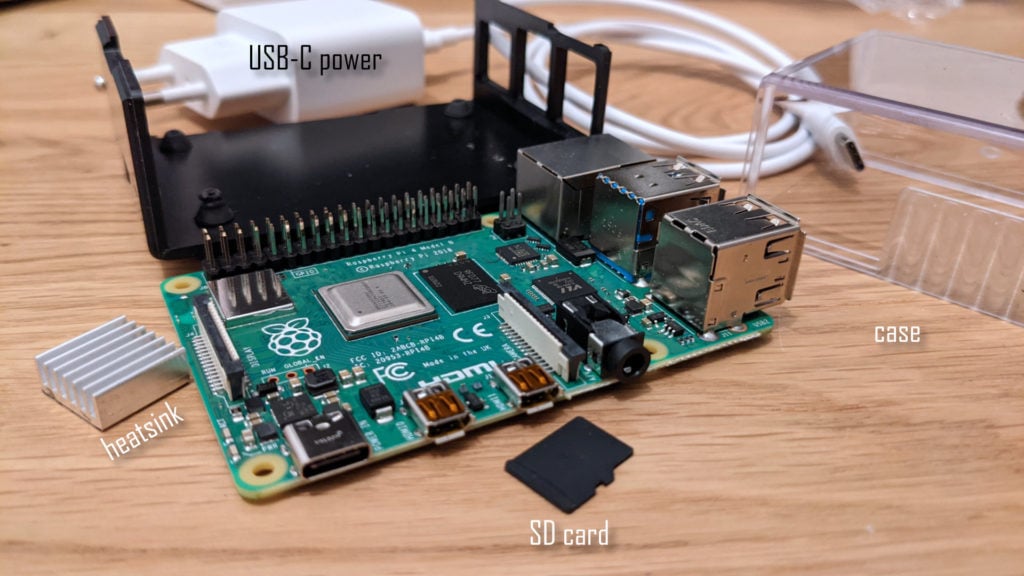

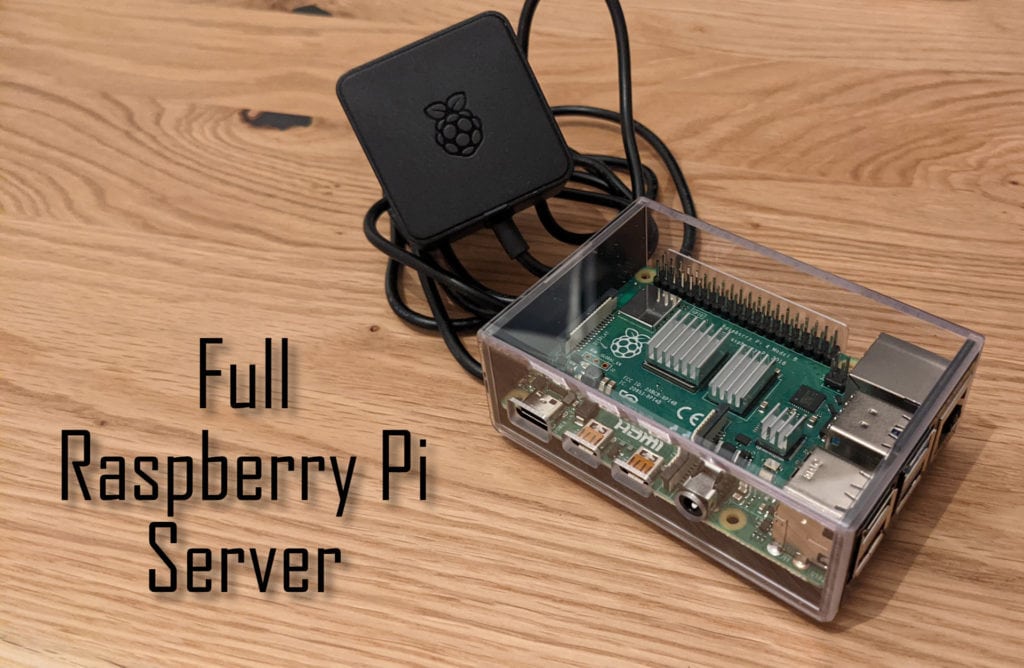
Afterwards you need to flash an OS onto the SD card, more on that in a second. The card has to be inserted into the slot on the uderside of the Pi. Then just connect the Pi to a powerful enough USB-C power adapter and plug in a LAN cable. Now you are ready to go.
Home Assistant & server setup
The software side setup of the server is also quite easy. Basically we just need to install docker & docker-compose, clone my GitHub repo and start the containers by running
git clone https://github.com/OliverHi/smarthomeserver.git
docker-compose -f hosting.yml up -d
docker-compose -f smarthome.yml up -d
After waiting for all the containers to start up you should be able to access all services with a web browser. Open ip-of-the-pi-server:8123 to access the HomeAssistant dashboard.
This lead me to a setup wizard which creates a new user and asks for some basic information. Afterwards you will find yourself on a auto generated first dashboard of Home Assistant.
Next I started changing some general settings. Clicking on your account name on the bottom left side will give you access to some user settings.
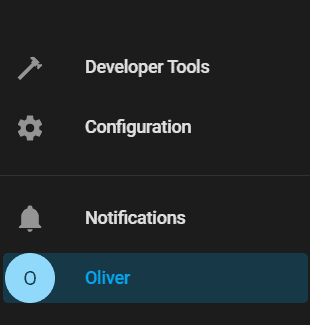
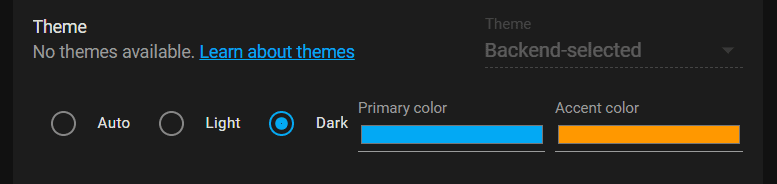
Maybe the most important setting here, at least if you start this project in the evening, is switching to dark mode. Otherwise the bright white screens might just burn your eyes 😉
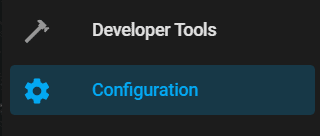
Everything else can be found in the “configuration” tab.
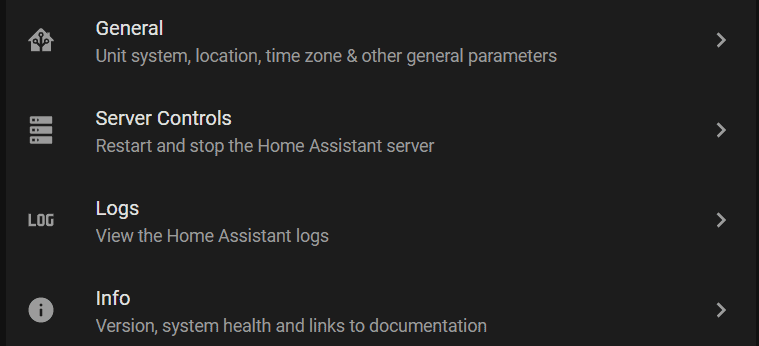
Here you will find a place to change the general information (the one you just set up in the wizard) and see software version and logs if anything goes wrong.
Otherwise the most important part of this menu is about integrations. Integrations allow you to add new types of devices to your Home Assistant instance. A full list can be found here. You can use this to add Hue bulbs, Roborock vacuums, information about your router and so much more.

Conclusion so far? The setup of Home Assistant is pretty great. The UI is really clean and pretty simple. I was quickly able to find everything I was looking for. My only complaint so far: I needed to use the settings for integrations and logs a lot in the beginning, why can I not just allow me to pin those to the main sidebar?
There is also a lot of confusion about the different ways you can install Home Assistant. Recently some of the names seem to have changed (HassOS/Home Assistant OS/Supervised/…) and it is quite hard to find a good comparison in the documentation. The forums and the community can be really helpful here – I got some great advice on reddit.
Next week I will show you how I added my Aqara sensors and Tradfri lightbulbs as well as presence detection to the new setup in part 2.