How to use Zigbee2MQTTAssistant to comfortable manage all your Zigbee devices
Zigbee2MQTTAssistant makes a great software even better. Zigbee2MQTT is a very nice piece of software you can use to control all kind of MQTT devices with one gateway. But while it is awesome it can be a little hard to get started with. This is where Zigbee2MQTT-Assistant shines: it gives you a comfortable UI for most things you will want to do with the software.
How to install Zigbee2MQTTAssistant
If you followed my Zigbee2MQTT guide and read the tips & tricks you might have seen the software already. If you are looking to add Zigbee2MQTT-Assistant to your setup too you are in luck: it is actually quite easy. As you can see in the official GitHub repository there are basically two ways.
If you are running Home Assistant in the supervised version you can install it as an add-on. If you are not using Home Assistant, or like me use a plain docker container to install it, you can also use Docker directly.
I shared my personal docker-compose based setup in my own GitHub repository here. Running Zigbee2MQTT-Assistant just needs a couple of additional lines in the docker-compose yaml file:
zigbee2mqttAssistant:
    image: carldebilly/zigbee2mqttassistant
    restart: unless-stopped
    depends_on:
      zigbee2mqtt:
        condition: service_started
    environment:
      - Z2MA_SETTINGS__MQTTSERVER=mosquitto
      - TZ=${TZ}
    ports:
      - 8880:80
If you are not running zigbee2mqtt itself in the same docker setup just remove the depends_on part. If your MQTT server has a different hostname or IP (maybe because it is also not running in the same setup) you can change the environment variable to point to the right place.
Thats it. Download the yaml file and run docker-compose -f smarthome.yml up -d to start the software. The software will be available at ipadress-of-the-server:8880
What can Zigbee2MQTT Assistant do?
The software has three different areas allowing you to control your setup and see a bunch of important information.
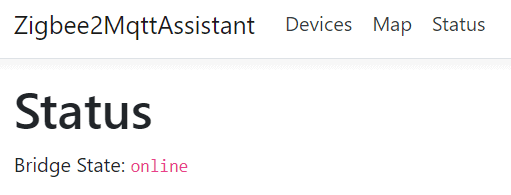
The status page
The software is really quite handy. First of all it gives you a great overview about your whole setup. In the status tab you can see if your MQTT server is actually online and whether Zigbee2MQTT is connected to it. If everything is fine you will see a bridge status of online.
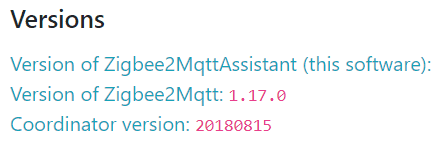
At the bottom of the page you can see a bunch of important data about your setup. The software version of the assistant, of zigbee2MQTT itself, of the software one the coordinator USB stick and its Zigbee id.
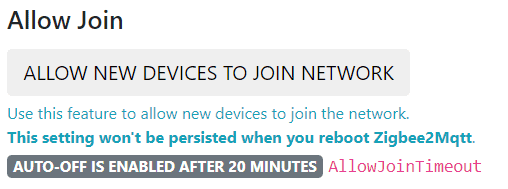
On the rest of this page you are able to change a couple of important settings. I have disabled new devices for my network via the config file. The button at the top of the page allows me to temporarily overwrite this setting to add new devices to my setup. And if you ever forget to turn it off again: no problem. After 20 minutes it will be automatically disabled. A great security feature.
You can also change the log level of Zigbee2MQTT Assistant or start the touch-link process. Personally I have never used this.
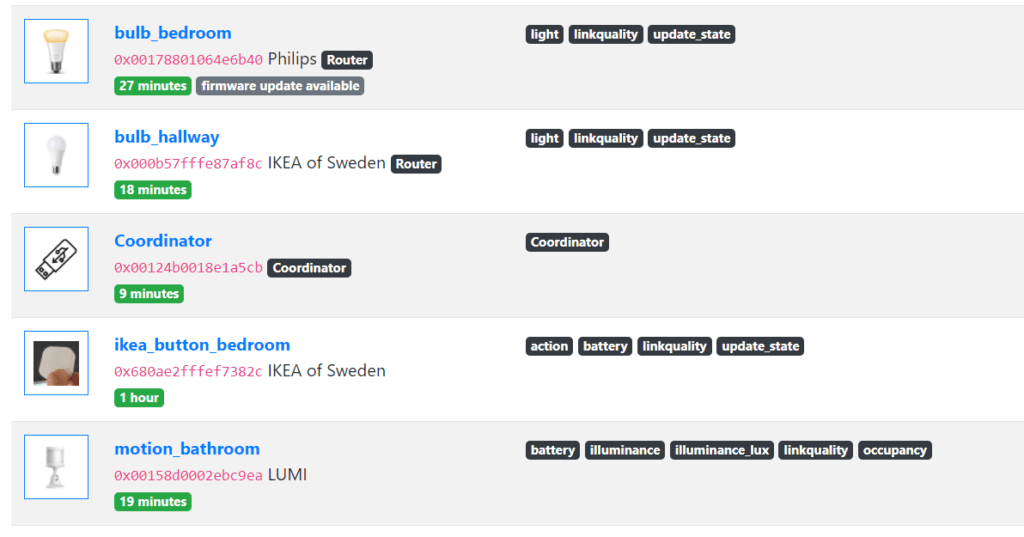
The device list
In the devices tab you can see a list of all your connected Zigbee devices. They come with a list of their exposed data (like light control or battery state), a last seen x minutes before label, nice images and much more. It even contains a warning for devices that have been disconnected for a long time and a hint for you to update the firmware (available for some devices like Philips Hue and IKEA Tradfri bulbs.
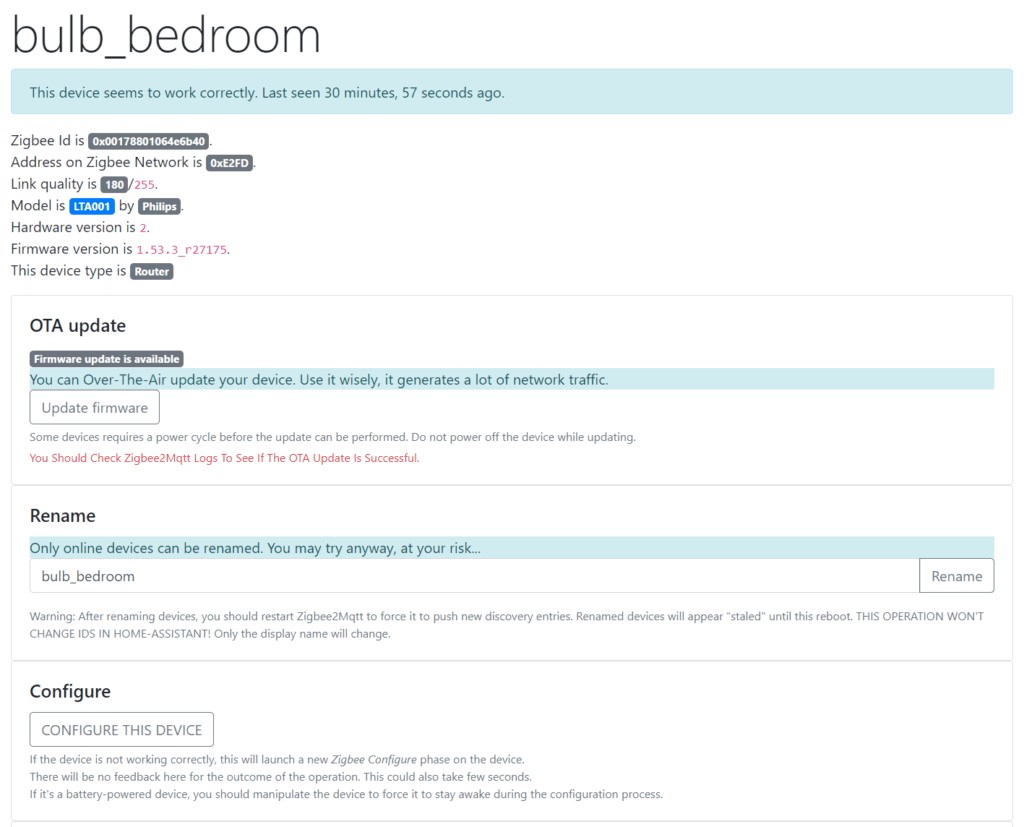
If you click on any of the devices you will get a detailed overview about its zigbee adress, manufacturer, device type and much more. You can also start an OTA update here, rename, configure or remove the device. Really everything you need.
The map part
Maybe the most impressive part is the map. While you can do this manually with a MQTT client and a website, this will automatically create a map of your current Zigbee network for you. With the click of a button!
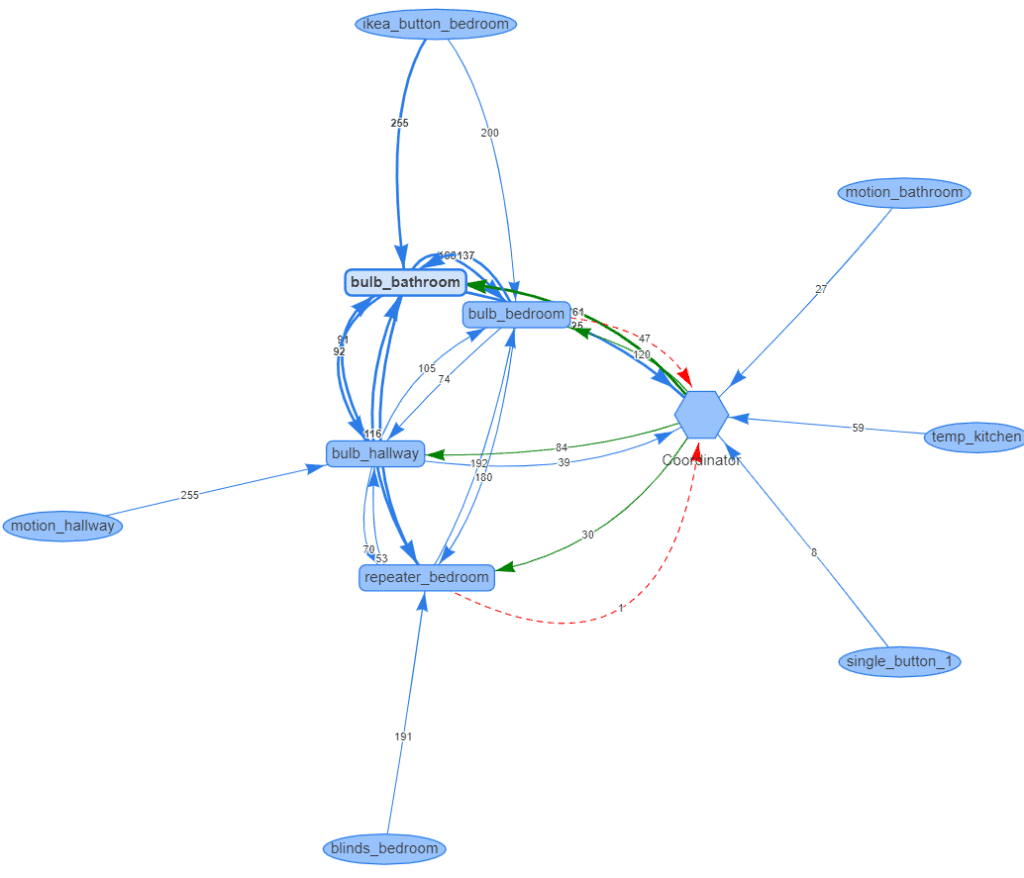
This can really help you to figure out why some devices are not working properly. The annotated numbers on the connections represent signal strength. If one device is connected to the wrong part of the network or has a pretty bad connection you can see it here and try to fix it.
Try repairing the device at its intended position, add a new router to the network or just wait some time. The network regularly reorders itself.
If you are running Zigbee2MQTT you should definitely add this small program. It is really really helpful and has saved me a lot of time.